The Ultimate Guide to Exterior House Painting: Best Tips for Lasting Results
A fresh coat of exterior paint can transform a tired house, improve curb appeal, and help protect siding and trim […]
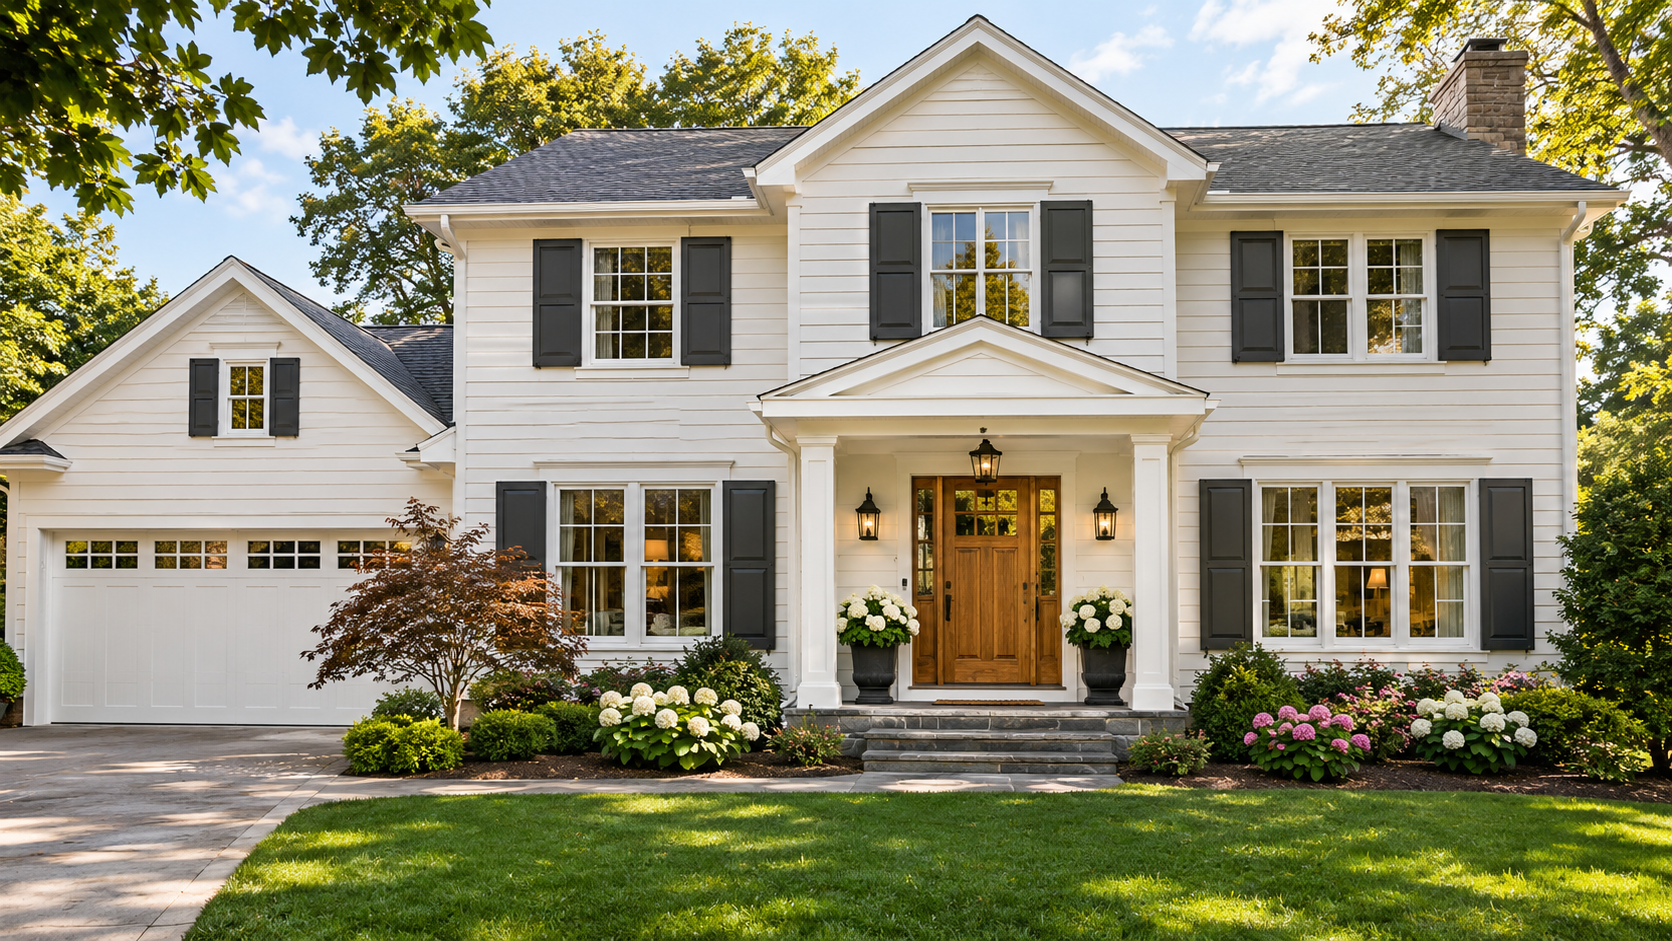
A fresh coat of exterior paint can transform a tired house, improve curb appeal, and help protect siding and trim from exposure to sunlight and rain. But a beautiful finish does not begin with a paintbrush. It begins with an honest inspection of the building, careful surface preparation, and the right materials for the climate and siding.
The Ultimate Guide to Exterior House Painting explains each stage without assuming every home needs the same treatment. A wood-sided cottage in Maine, a stucco home in Arizona, and a coastal property in Florida face different moisture, heat, and maintenance challenges. The goal is a coating system that looks good and performs well on your particular home.
Homeowners also need to know their limits. Painting reachable trim may be a reasonable DIY project, while multi-story work, extensive rot, or potentially hazardous old coatings require specialized help. Use The Ultimate Guide to Exterior House Painting to plan the work in the right order, avoid costly shortcuts, and know when to call a professional.
1. Inspect the Exterior Before Buying Paint
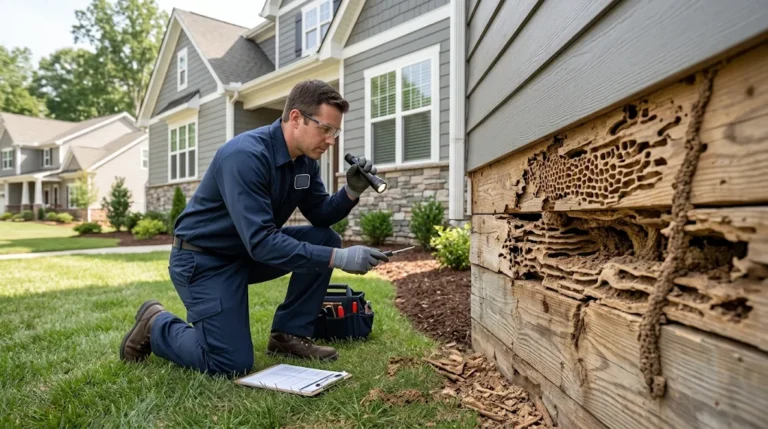
Walk around the house in daylight and look closely at every surface you plan to paint. Check for peeling, blistering, chalking, mildew, cracked caulk, soft wood, loose siding, and stains beneath gutters. Look for water that may be entering around windows or roof edges.
The first lesson in The Ultimate Guide to Exterior House Painting is that coating failure often has an underlying cause. Fresh paint will not repair rotten boards, stop a roof leak, or fix persistent moisture behind siding. Deal with those problems before paying for surface finishes.
Identify the Material You Are Painting
Wood, fiber cement, masonry, stucco, metal, and vinyl have different preparation needs. Bare wood may require a suitable primer; masonry can hold moisture or exhibit salt deposits; metal needs corrosion treatment; vinyl may have color restrictions to prevent heat-related distortion. Always confirm that the chosen coating is approved for the substrate.
Know When Repairs Come First
Replace unsound trim, correct failed flashing, and repair cracks using methods suitable for the structure. Do not seal over active leaks or paint visibly wet surfaces.
2. Choose Colors That Work With the House
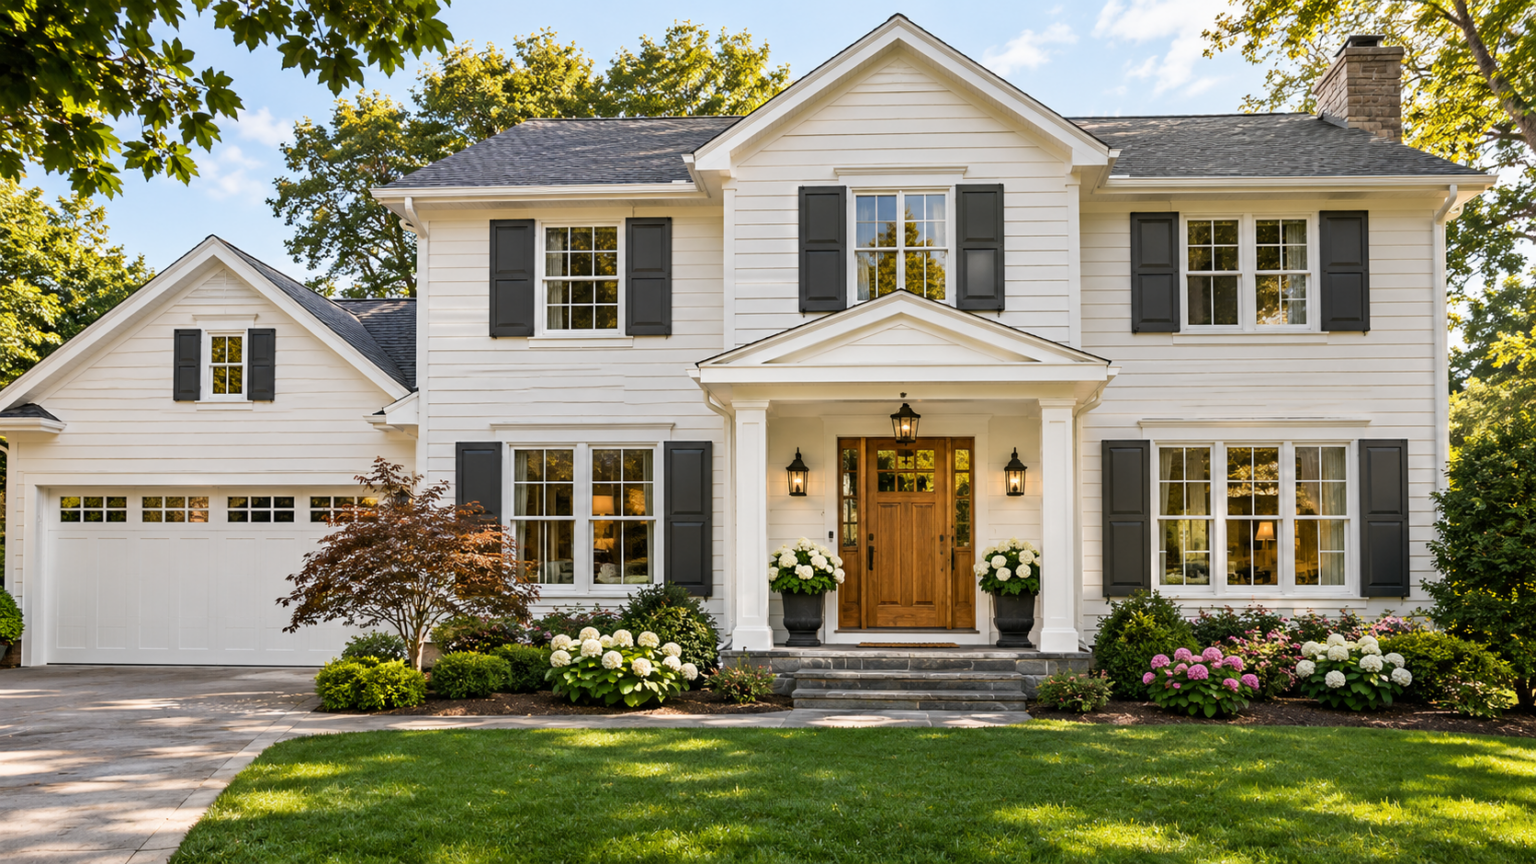
The best exterior color is one that complements the roof, stonework, brick, landscape, and architectural style. Observe permanent materials before choosing a trendy shade. Warm cream might pair well with earthy masonry, while a cool white could suit a home with slate-colored roofing.
When following The Ultimate Guide to Exterior House Painting, test colors on several areas of the home rather than relying solely on a small store sample. Daylight, shade, and surrounding greenery can change how a color appears. Examine painted test areas in the morning and late afternoon, after the coating has dried.
Build a Simple Color Palette
Many attractive homes use one main siding color, a coordinated trim color, and a restrained accent for the front door or shutters.
Test the Finish as Well as the Shade
Sheen affects the appearance of imperfections and how easy surfaces are to clean. Different exterior products offer flat, low-luster, satin, or gloss finishes. Choose a finish that suits the material and manufacturer recommendations rather than assuming shinier always means better.
3. Select the Correct Paint and Primer
Look for an exterior coating suitable for your surface, local weather, and existing paint system. Quality exterior acrylic paints are commonly used on several residential substrates, but compatibility must be checked carefully. A previously painted surface may need testing before changing products, especially if its coating history is unknown.
The Ultimate Guide to Exterior House Painting places material compatibility ahead of marketing claims. Read the product technical data sheet for recommended surface preparation, coverage, allowable application temperatures, drying times, and recoat windows.
Decide Where Primer Is Needed
Primer may be important on exposed wood, repairs, stains, porous substrates, and surfaces where adhesion is uncertain. Some high-quality paints are marketed as self-priming under specific conditions, but that does not make separate primer unnecessary for every project. Follow the actual product instructions and perform a small compatibility test when appropriate.
Sherwin-Williams recommends testing paint on an inconspicuous spot, while Benjamin Moore emphasizes clean, dry, dull surfaces and careful priming of damaged areas. Sherwin-Williams+1 The practical meaning of The Ultimate Guide to Exterior House Painting is to build a coordinated coating system, not purchase unrelated products based solely on price.
4. Prepare Surfaces Thoroughly and Safely
Preparation often takes longer than painting, particularly on an older house. Protect plants and outdoor belongings, remove dirt and loose debris, address mildew or other contamination using a suitable procedure, and allow the surface to dry. Gentle washing may be appropriate; aggressive pressure washing can drive water behind siding or damage wood.
The most useful principle in The Ultimate Guide to Exterior House Painting is simple: paint needs a sound, clean, dry surface. Loose coatings must be addressed safely, rough edges smoothed where appropriate, and damaged areas repaired before a new finish is applied.
Take Lead Paint Risks Seriously
In the United States, homes built before 1978 may contain lead-based paint. Sanding, scraping, and other disturbance can create harmful dust. EPA’s Renovation, Repair and Painting program generally requires paid firms performing covered work on pre-1978 housing to be certified and use lead-safe methods; homeowners working on their own houses are treated differently under the federal rule, although safe practices remain essential. State rules may add requirements. US EPA
Never approach an older exterior with a power sander or heat gun before evaluating lead risks. EPA recommends hiring a lead-safe certified contractor for eligible work. In The Ultimate Guide to Exterior House Painting, safety is part of the project plan rather than an optional expense.
Seal Appropriate Joints and Protect Openings
Use exterior-rated, paintable sealant where the siding or window system calls for it, but do not block drainage paths or weep holes. Follow manufacturer guidance about whether primer or sealant comes first. Mask windows and protect plants without trapping excessive heat or leaving coverings in place longer than necessary.
Keep Tools and Access Areas Organized
A properly organized worksite helps reduce accidental damage and supports safer, more efficient painting.
5. Choose the Right Weather Window
Exterior coatings depend on temperature, surface moisture, humidity, and time to cure. Rain, dew, direct sunlight, and unusually hot or cold conditions can interfere with adhesion or the appearance of the finish. Temperature thresholds vary by product, so there is no one universal painting temperature.
A realistic reading of The Ultimate Guide to Exterior House Painting is to check the forecast for the entire application and early curing period. Benjamin Moore advises consulting product labels, notes that high humidity slows drying, and warns against painting damp surfaces. Sherwin-Williams similarly recommends avoiding immediate post-rain painting and checking product-specific temperature requirements. Benjamin Moore+1
Monitor the Surface, Not Only the Air
A wall in direct sun may be much hotter than the forecast air temperature. A shaded wall may still be wet with morning dew. Work in suitable conditions and avoid coating surfaces that are damp, excessively hot, or likely to encounter rain before the required drying interval.
Plan a Realistic Work Sequence
The Ultimate Guide to Exterior House Painting is most effective when the timeline is based on the coating system rather than a fixed weekend deadline.
6. Apply Paint With Consistent Technique
For many homes, painters use brushes for detail work, rollers for accessible broad areas, and spraying equipment for suitable surfaces. No method automatically produces the best finish. The chosen technique must match the paint, surface profile, weather, and operator’s experience.
When applying The Ultimate Guide to Exterior House Painting, focus on uniform coverage and appropriate film thickness. Stir the product as directed, use the recommended tools, and follow the stated coverage rate. Applying paint too thinly can reduce protection; overly thick coats may run, wrinkle, or cure poorly.
Work Methodically From Section to Section
Protect windows, fixtures, roofing, and adjacent materials from splatter or overspray. Work from the top down when practical, maintain a wet edge, and blend adjoining sections carefully. Follow the manufacturer’s recoat interval instead of guessing when the first coat looks dry.
For many products, two finish coats are recommended, but requirements vary by system and substrate. The Ultimate Guide to Exterior House Painting encourages checking the specifications and inspecting each completed section under natural light before moving on.
Use Professional Equipment Only With Proper Training
Ladders, scaffolds, and sprayers introduce fall and injection hazards. Never overreach from a ladder or work near power lines without qualified procedures. High elevations, difficult rooflines, and extensive spraying are strong reasons to hire a properly insured painting contractor.
7. Understand the Factors Behind Project Cost
Exterior painting prices vary widely, making a single nationwide dollar figure misleading. Home size, number of stories, siding condition, access difficulty, paint system, repairs, and regional labor rates all influence the estimate. Labor for scraping, repairs, and masking can represent a substantial share of the work.
Use The Ultimate Guide to Exterior House Painting as a budgeting checklist instead of relying on a low advertised price. Obtain itemized estimates showing preparation, repairs, primer, finish coats, materials, site protection, and cleanup. Ask whether the quote covers doors, shutters, porches, detached structures, or only main siding.
Estimate Materials Before Shopping
Measure approximate paintable areas, subtract large openings where appropriate, and consult the actual product coverage guidance. Rough siding and heavily textured masonry may consume more paint than smooth surfaces. Allow for the number of coats and reasonable waste without buying an excessive quantity that cannot be returned.
Compare Value, Not Only the Initial Quote
The lowest proposal may omit crucial preparation. The most expensive is not automatically superior either. Another takeaway from The Ultimate Guide to Exterior House Painting is to compare scope, warranty terms, references, and the contractor’s plan to correct defects.
8. Decide Whether to Paint Yourself or Hire a Crew
DIY exterior painting can be reasonable for a small, single-story area with sound surfaces and safe access. It may provide scheduling flexibility and lower direct labor expenses. However, tools, protective equipment, disposal, repairs, and mistakes still have costs.
For larger houses, The Ultimate Guide to Exterior House Painting supports obtaining professional estimates before deciding. Ask whether the contractor carries appropriate insurance, follows applicable licensing rules, has experience with your siding, and will comply with lead-safe requirements if relevant.
Questions to Ask a Painting Contractor
Ask who supervises the crew, how surfaces will be prepared, what paint system is specified, how landscaping will be protected, and what happens if hidden damage appears. Request a written schedule and payment milestones. Confirm whether the company handles permits or required notifications where applicable.
A written agreement should explain included work, exclusions, product names, cleanup, change-order procedures, and warranty limitations. A sensible interpretation of The Ultimate Guide to Exterior House Painting is to know exactly what you are purchasing before the project begins.
9. Maintain the Finish After the Work Is Done
Exterior paint lasts longer when underlying moisture problems are controlled and small defects are repaired early. Inspect siding, trim, and sealant periodically, particularly after severe storms. Clean ordinary dirt gently using a method suitable for the coating and avoid harsh cleaning that could damage it.
As The Ultimate Guide to Exterior House Painting emphasizes, maintenance is part of long-term value. Keep gutters functioning, direct drainage away from the structure, and investigate peeling or staining rather than immediately covering it with more paint.
Save Product Details for Future Repairs
Keep the color name, paint brand, product line, finish, batch information if available, and the date of the job.
Inspect Small Problems Before They Grow
A tiny crack in caulk or a localized peeling spot can indicate a minor repair or a larger moisture issue. Diagnose the cause before patching. The finish should remain attractive, but protection of the building is the more important goal.
Frequently Asked Questions
How often should a house exterior be repainted?
There is no universal schedule. Exposure, substrate, coating quality, preparation, and maintenance all matter. Inspect the finish periodically and repaint when its condition warrants it rather than following an arbitrary number of years.
What is the best season for exterior painting?
Choose a stretch of weather meeting the specific product’s temperature and moisture requirements. Spring and fall often provide workable conditions in some regions, but local forecasts and surface temperatures matter more than the season’s name.
Can I paint directly over existing exterior paint?
Sometimes, if the existing coating is sound, clean, compatible, and properly prepared. Loose, contaminated, or chalking paint needs attention. Test adhesion and follow primer recommendations before coating a large area.
Is pressure washing required before painting?
No. Cleaning is necessary, but the method should suit the siding and condition. Pressure washing can cause damage or drive moisture into construction joints if done incorrectly.
Should I use a brush, roller, or sprayer?
Each can work when matched to the job and operator. Brushes provide control, rollers work on many accessible areas, and sprayers may be efficient on suitable surfaces but need experienced handling and careful masking.
Is exterior house painting safe as a DIY project?
Small accessible jobs may be manageable with appropriate precautions. Height, difficult access, damaged surfaces, electrical hazards, and possible lead paint can make professional help the safer option.
Conclusion
A successful exterior paint job combines design, building maintenance, and careful application. Inspect for damage, select colors and materials that suit the home, prepare thoroughly, plan around weather, and apply the specified coating system consistently. Do not overlook fall hazards, lead risks, or hidden moisture problems merely to finish faster.
The Ultimate Guide to Exterior House Painting ultimately comes down to doing the work in the right sequence. Whether you paint a small area yourself or hire an experienced crew, informed decisions about preparation, safety, and maintenance are what give a fresh finish its best chance of lasting.

Written by Twastia Editorial Team
Twastia Editorial Team shares practical insights about website design, SEO services, Google Ads, content marketing, social media, conversion rate optimization, and digital marketing strategy.
Last updated: Nov 6, 2026
Related posts from Twastia
Explore more useful articles from twastia.com about digital marketing, SEO, websites, ads, content, and growth strategy.