How to Change the Appearance of Wood: Expert DIY Techniques
Wood has an unmatched ability to bring warmth, character, and organic beauty into a living space. Whether it is a […]
Wood has an unmatched ability to bring warmth, character, and organic beauty into a living space. Whether it is a vintage oak dining table, modern pine shelving, or hardwood flooring, natural timber anchors a room with timeless appeal. However, interior design tastes evolve over time. That heavy golden-oak finish from the 1990s or a faded, scratched coffee table can easily make a room feel dated. Fortunately, you do not need to throw away quality furniture or replace architectural millwork to achieve a fresh aesthetic. Learning how to successfully change the appearance of the wood in your home opens up a world of creative possibilities.
Transforming wooden surfaces is one of the most rewarding DIY projects a homeowner can undertake. With the right combination of preparation, tools, and finishing products, you can completely alter the tone, texture, and character of any wooden piece. Whether your goal is to brighten a dark mahogany armoire into a breezy Scandinavian blonde, give brand-new construction lumber an antique farmhouse patina, or highlight subtle grain patterns, understanding professional techniques ensures stunning, long-lasting results.
Assessing Your Wood Type and Project Scope

Before diving into any woodworking project, a successful transformation begins with careful evaluation. Not all wood species react the same way to treatments. Softwoods like pine and fir feature porous cellular structures that absorb stains quickly and often unevenly, sometimes resulting in blotchy patches. Hardwoods like oak, maple, walnut, and cherry possess denser grain patterns that require specific preparation to accept new finishes evenly.
Inspect the existing surface condition carefully. Does the piece feature a thick polyurethane coat, factory-applied lacquer, or old wax? Knowing what is currently on the wood dictates whether you need heavy-duty chemical strippers or if a simple sanding session will suffice. Taking time to evaluate your material prevents costly mistakes and ensures the final result matches your design vision.
Essential Preparation and Stripping Techniques
Skipping proper surface preparation is the single biggest pitfall in woodworking transformations. If you apply a new stain or paint over old, failing finishes or accumulated dirt, the new product will fail to bond correctly, leading to peeling and bubbling down the line.
Sanding Fundamentals
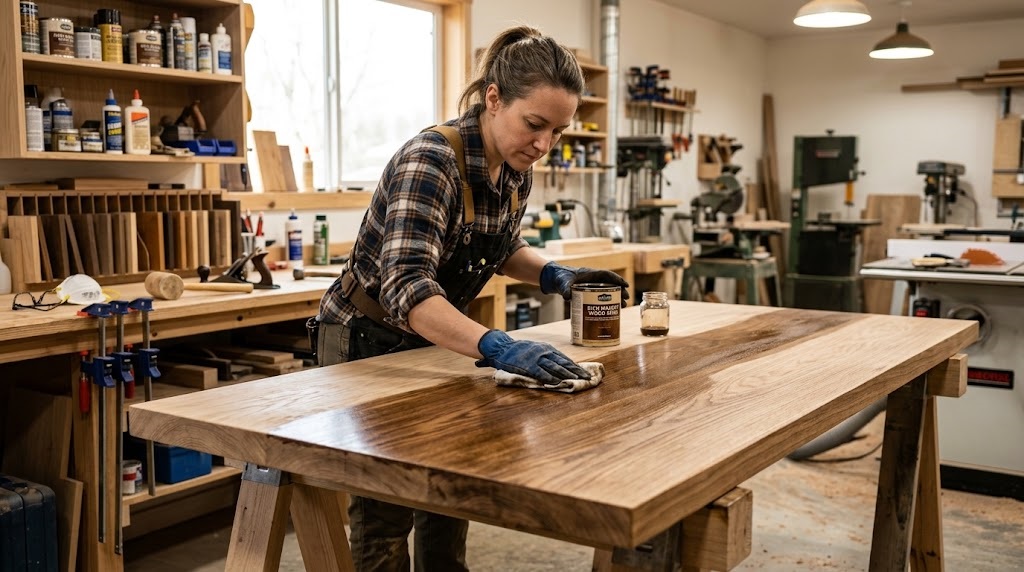
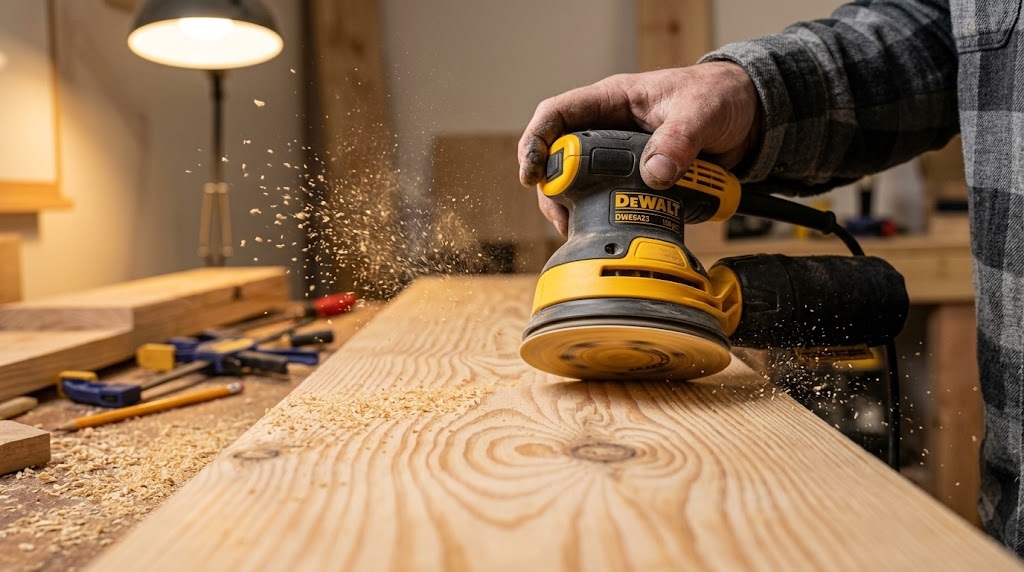
Sanding is the foundation of altering wood surfaces. Begin with a medium-grit sandpaper (around 80 to 120 grit) if you need to remove old surface blemishes or open up sealed grain. Progress systematically to finer grits, such as 150 and 220 grit, ensuring you always sand in the direction of the wood grain. Circular scratch marks left by cross-grain sanding will be horribly magnified once stain is applied.
Chemical Stripping and Cleaning
When dealing with thick varnishes, shellacs, or multiple coats of old paint, physical sanding alone can clog sandpaper instantly and damage delicate carved details. Applying a commercial chemical gel stripper allows you to safely lift old finishes from the wood pores. After stripping, neutralize the surface according to the manufacturer’s instructions and clean away all residue with mineral spirits before letting the wood dry completely. Change
Popular Methods to Transform Wood Tones and Textures
Once your wood is clean, bare, and smooth, you can choose from an array of dynamic techniques designed to dramatically alter its visual personality.
Staining and Dyeing for Rich Color Depth
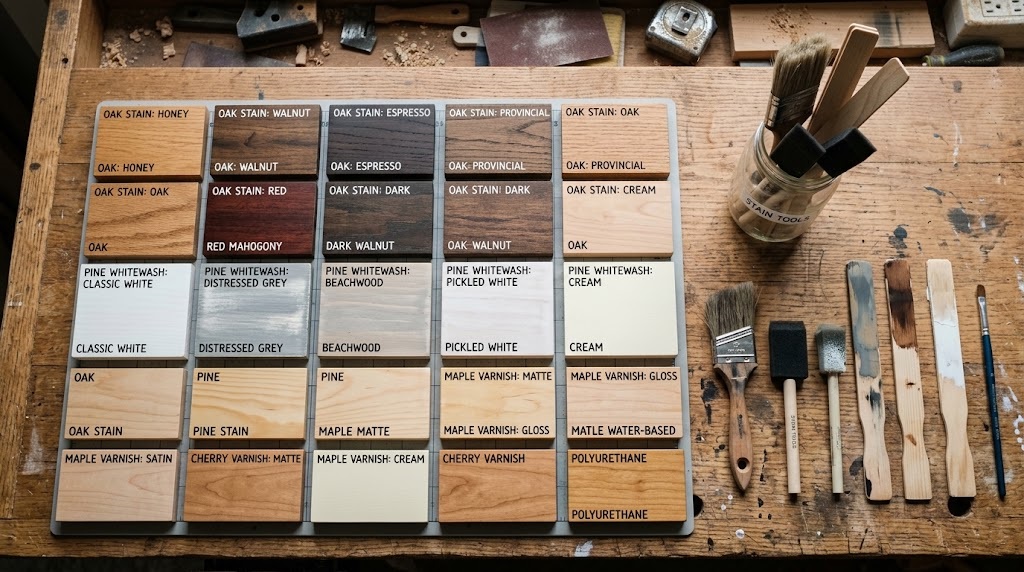
Traditional oil-based and water-based stains penetrate the open pores of wood to enrich natural colors or shift tones entirely. If you want to transform a warm, honey-colored oak into a sleek, contemporary ebony or a rich espresso, wood stain is your primary tool. For maximum control over color intensity, consider wood dyes, which impart vibrant hues without obscuring the natural grain structure.
Bleaching and Whitewashing for a Modern Aesthetic
If your objective is to lighten heavy, dark woods, wood bleaching agents (such as A/B two-part wood bleaches) chemically strip natural pigments, lifting the color several shades lighter. For a softer, coastal, or farmhouse look, whitewashing utilizes diluted white paint or specialized pickling stains rubbed into the grain, creating an airy, sun-bleached aesthetic that highlights natural texture.
Mechanical Distressing for Instant Antiquing
If you are working with brand-new, budget-friendly construction lumber and want it to look like reclaimed timber straight out of a historic barn, mechanical distressing works wonders. Using simple household tools like chains, hammers, awls, and wire brushes, you can introduce dents, daggers, and softened edges before applying a dark antiquing glaze that settles into the newly created grooves.
Protecting Your New Finish with Topcoats
All your hard work preparing and coloring the wood will be wasted if the surface is left unprotected. The final step in any wood transformation is applying a durable topcoat that shields the timber from moisture, UV fading, and daily wear and tear.
Water-based polyurethanes offer a crystal-clear finish that dries quickly and resists yellowing over time, making them ideal for light or whitewashed surfaces. Oil-based polyurethane provides a richer, slightly amber warmth and exceptional durability for high-traffic dining tables and flooring. For an ultra-natural, tactile feel that emphasizes the organic texture of the wood without a plastic sheen, penetrating hardwax oils or traditional paste waxes offer a gorgeous, repairable matte finish. Change
Frequently Asked Questions
Can I paint or stain over finished wood without sanding?
Applying new finish directly over shiny, sealed wood without sanding is generally discouraged. Without a “scratch coat” or primer to grip, the new paint or stain will easily scratch, chip, or peel off. Lightly sanding the surface with 220-grit sandpaper creates the necessary mechanical bond.
How do I prevent blotchy stains on softwoods like pine?
Softwoods have uneven density that absorbs stain unpredictably. Applying a pre-stain wood conditioner before staining seals the porous areas temporarily, allowing the wood to absorb pigment evenly and preventing dark, splotchy spots. Change
What is the difference between a wood stain and a wood dye?
Wood stains use finely ground pigments suspended in a liquid base to color wood while highlighting the grain. Wood dyes use microscopic, soluble colorants dissolved in water, alcohol, or oil that penetrate deeper into the wood fibers, offering intense, transparent colors without hiding natural grain details.
How many coats of polyurethane should I apply?
For standard indoor furniture and accent pieces, two to three coats of polyurethane provide adequate protection. Be sure to lightly sand with ultra-fine sandpaper or steel wool between coats to eliminate dust nibs and ensure perfect interlayer adhesion. Change
Can I change dark wood into light wood without stripping?
Generally, no. You cannot paint a lighter stain directly over a dark finish and expect it to lighten; finishes are semi-transparent and add color on top of what is already there. To achieve a truly lighter look on dark wood, you must strip and sand down to bare wood before bleaching or applying light finishes. Change
What is the easiest way to remove old polyurethane?
Chemical gel strippers are by far the easiest and most efficient way to remove thick, cured polyurethane without aggressively grinding away precious wood thickness with a sander. Brush on the stripper, let it bubble up the old finish, and scrape it off gently with a plastic putty knife. Change
How do I maintain a newly finished wooden surface?
Dust regularly with a soft, microfiber cloth. Avoid using harsh chemical cleaners, ammonia, or excessive water, which can degrade protective topcoats. For waxed or oiled surfaces, periodically reapplying a maintenance coat preserves water resistance and rich luster.
Conclusion
Transforming the look of wood is a deeply satisfying endeavor that bridges creativity, craftsmanship, and practical home improvement. Whether you are modernizing a dated family heirloom, upgrading budget-friendly furniture, or crafting custom architectural accents from scratch, knowing how to successfully change the appearance of the wood gives you complete control over your home’s interior design. By respecting the preparation process, choosing the right finishing techniques, and protecting your work with quality topcoats, you can breathe new life into timber and enjoy stunning, custom results for years to come. Change Change Change Change Change

Written by Twastia Editorial Team
Twastia Editorial Team shares practical insights about website design, SEO services, Google Ads, content marketing, social media, conversion rate optimization, and digital marketing strategy.
Last updated: Oct 18, 2026
Related posts from Twastia
Explore more useful articles from twastia.com about digital marketing, SEO, websites, ads, content, and growth strategy.