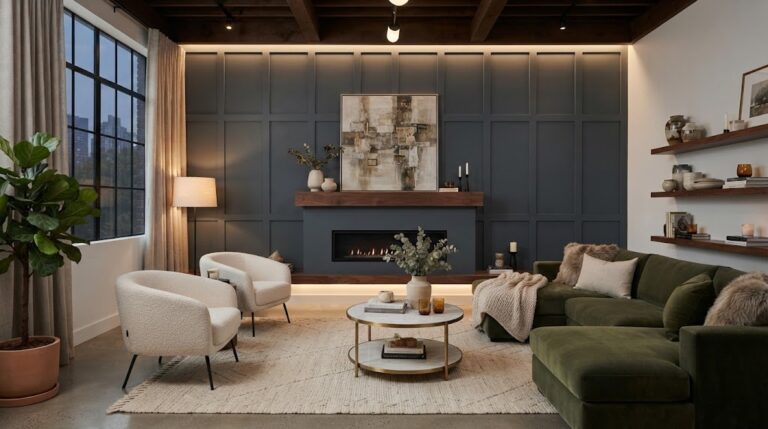
removable vinyl wallpaper: Easy Guide to DIY Interior Design
Redecorating a home used to require an exhausting commitment of time, money, and labor. Traditional wall coverings involved messy buckets […]
Redecorating a home used to require an exhausting commitment of time, money, and labor. Traditional wall coverings involved messy buckets of paste, specialized scoring tools, and hours of tedious scraping when it came time to redecorate or move out. Fortunately, modern home decor technology has evolved dramatically over the last decade. Today, using removable vinyl wallpaper has completely transformed the interior design landscape, allowing homeowners, apartment renters, and DIY enthusiasts to update their living spaces with zero permanent damage and minimal hassle.
Whether you want to create a dramatic faux-brick feature wall in your living room, add a splash of playful floral print to a nursery, or wrap outdated kitchen cabinets in a sleek marble finish, peel-and-stick wall coverings offer unmatched flexibility. The popularity of this versatile decorating medium
stems from its combination of high-definition printing quality, durable synthetic materials, and advanced pressure-sensitive adhesives. In this comprehensive guide, we will explore why removable vinyl wallpaper is the ultimate choice for modern interiors, detail step-by-step installation and removal techniques, showcase creative DIY projects, and answer the most common questions regarding wall preparation and maintenance.
What Is Removable Vinyl Wallpaper and How Does It Work?
Before diving into installation projects, it is helpful to understand the material composition and engineering behind modern peel-and-stick wall coverings.
The Science Behind Peel and Stick Adhesive
Unlike traditional paste-the-wall papers that rely on water-activated starches, removable vinyl wallpaper is engineered with a specialized low-tack acrylic adhesive backing. This pressure-sensitive adhesive creates a firm bond with smooth, sealed surfaces while remaining flexible enough to be peeled away cleanly without leaving sticky residue or stripping underlying paint layers.
High-quality removable vinyl wallpaper features a thick polyvinyl chloride (PVC) substrate coated with a protective matte or satin top layer. This synthetic backing provides dimensional stability, preventing the sheet from stretching, shrinking, or warping during application. The result is a heavy-duty, tear-resistant material that hides minor wall imperfections while delivering crisp, rich color saturation.
Vinyl vs Traditional Paper Wallpaper
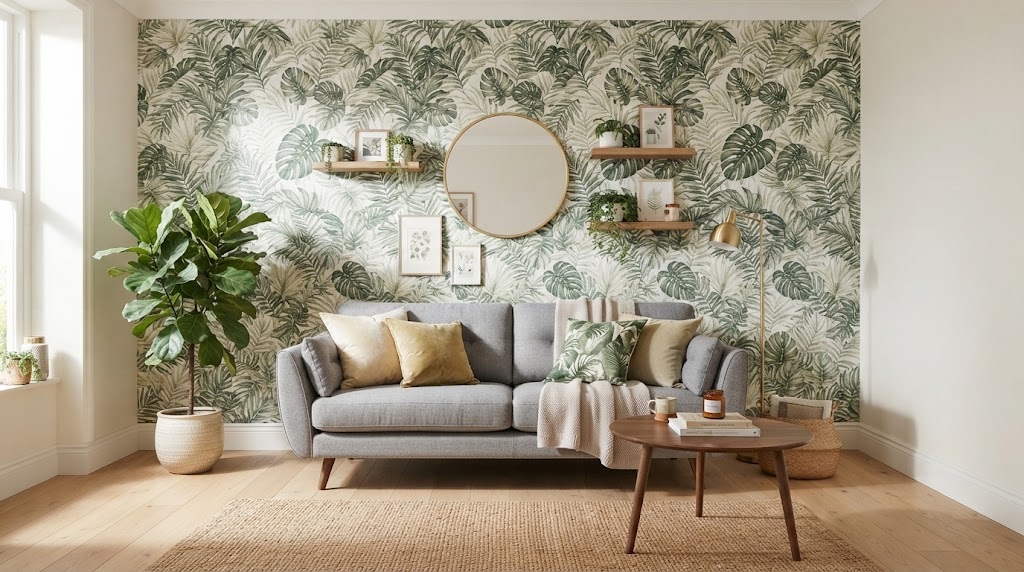
When comparing interior wall finishes, choosing removable vinyl wallpaper over standard paper or non-woven alternatives offers distinct practical advantages:
- Moisture Resistance: Synthetic vinyl repels water droplets, humidity, and steam, making it suitable for damp environments where traditional paper would warp, buckle, or grow mold.
- Washability: Stains, scuff marks, and crayon smudges can be easily wiped clean with a damp cloth and mild soap without fading the printed pattern.
- Ease of Adjustment: If you make a mistake during alignment, you can gently peel the strip off the wall and reposition it multiple times without losing adhesive strength.
- Damage-Free Removal: When it is time to move or update your decor, the wallpaper peels off in full, continuous sheets without needing water steaming or chemical solvents.
Key Benefits of Using Removable Vinyl Wallpaper in Modern Homes
From urban rental apartments to sprawling suburban estates, peel-and-stick wall coverings have become a staple of modern interior design for several compelling reasons.
Damage-Free Application and Renter-Friendly Versatility
The single biggest reason removable vinyl wallpaper is so popular among renters is its complete damage-free property. Apartment leases frequently restrict tenants from painting walls or making permanent structural modifications, leaving many living spaces feeling cold, sterile, and uninspired.
Installing removable vinyl wallpaper allows you to customize your rental unit with rich textures, geometric patterns, or botanical murals without risking your security deposit. When your lease ends, simply catch the corner of each panel and pull downward at a 45-degree angle. The wall covering lifts cleanly off the drywall, leaving the original landlord-approved paint completely intact underneath.
Moisture Resistance and Durability for High-Traffic Areas
Busy households with children and pets require durable interior surfaces that can withstand daily wear and tear. Because removable vinyl wallpaper is naturally water-resistant and scratch-resistant, it thrives in high-traffic spaces where traditional paper products quickly degrade. It is an ideal solution for mudrooms, hallway wainscoting, kids’ playrooms, and powder room accent walls. Furthermore, the wipeable surface ensures that food splatters near dining tables or handprints along staircases are cleaned in seconds without damaging the artwork.
Step-by-Step Guide: How to Install Removable Vinyl Wallpaper Like a Pro
Achieving a seamless, professional finish requires careful preparation, accurate measuring, and the right tools. Follow this step-by-step guide to ensure flawless application.
Essential Tools and Surface Preparation
Before applying removable vinyl wallpaper, proper wall preparation is critical to achieving a long-lasting, smooth bond.
Required Tools:
- Tape measure and metal straightedge ruler
- Utility knife with fresh, sharp breakaway blades
- Plastic smoothing squeegee or felt-edge wallpaper tool
- Level or plumb line tool
- Sponge and mild cleaning solution (such as diluted rubbing alcohol)
Wall Preparation Steps:
- Clean the Wall Surface: Wipe down the entire wall with a mix of warm water and a small amount of rubbing alcohol to remove dust, grease, and soap scum. Allow the surface to dry completely for at least 24 hours.
- Inspect Wall Texture: Peel-and-stick vinyl requires a smooth, non-porous surface for optimal adhesion. If your walls have heavy orange peel, knockdown, or stucco texture, the adhesive may fail to form a continuous seal, leading to air pockets or edge peeling. Lightly sand rough bumps and vacuum away drywall dust.
- Allow Fresh Paint to Cure: If you recently painted the wall, wait at least three to four weeks before applying wallpaper. Fresh paint releases gasses as it cures, which can form bubbles under the vinyl film and compromise adhesive performance.
Measuring, Cutting, and Smoothing Techniques
Once your wall surface is prepped and dry, begin the application process.
- Establish a Plumb Line: Never assume your ceiling or room corners are perfectly straight. Use a level to draw a straight, vertical pencil line about 20 inches from the corner of your starting wall. This line acts as your visual guide for aligning the first panel.
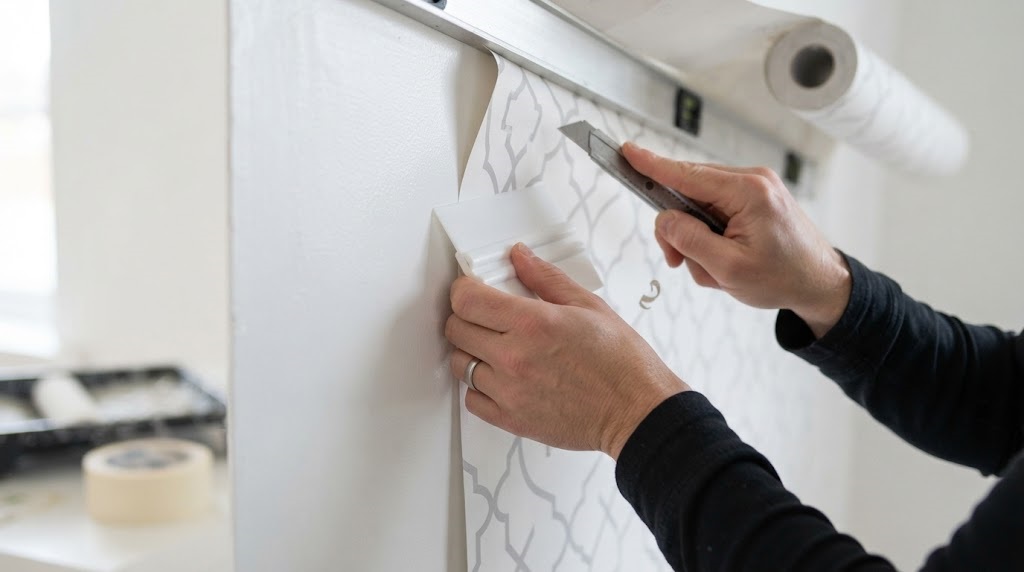
- Measure and Cut Panels: Measure the height of your wall and add 2 to 3 inches at both the top and bottom to account for uneven ceilings and baseboards. Unroll the wallpaper and cut your first strip using a utility knife.
- Peel and Position: Peel back roughly 12 inches of the paper backing from the top of the strip. When positioning removable vinyl wallpaper, start from the top of the wall and align the long edge precisely against your vertical pencil line. Press the exposed adhesive firmly against the wall.
- Smooth and Peel Gradually: Slowly pull the paper backing downward with one hand while using your plastic squeegee tool with the other to smooth out the vinyl face. Move from the center outward to push air bubbles toward the edges.
- Match the Pattern: For subsequent panels, align the pattern carefully along the seam before pressing the adhesive to the wall. Ensure the panels butt up against each other flush without overlapping, unless the manufacturer instructions specifically specify an overlap seam.
- Trim Excess Material: Once all panels are hung, use your metal straightedge ruler and a fresh utility blade to trim excess vinyl along the ceiling line and baseboard edges for a crisp finish.
Creative DIY Decor Ideas Using Removable Vinyl Wallpaper
While covering an entire room is the most common application, peel-and-stick materials offer endless possibilities for creative home craft projects and architectural enhancements.
Kitchen Backsplashes and Bathroom Accent Walls
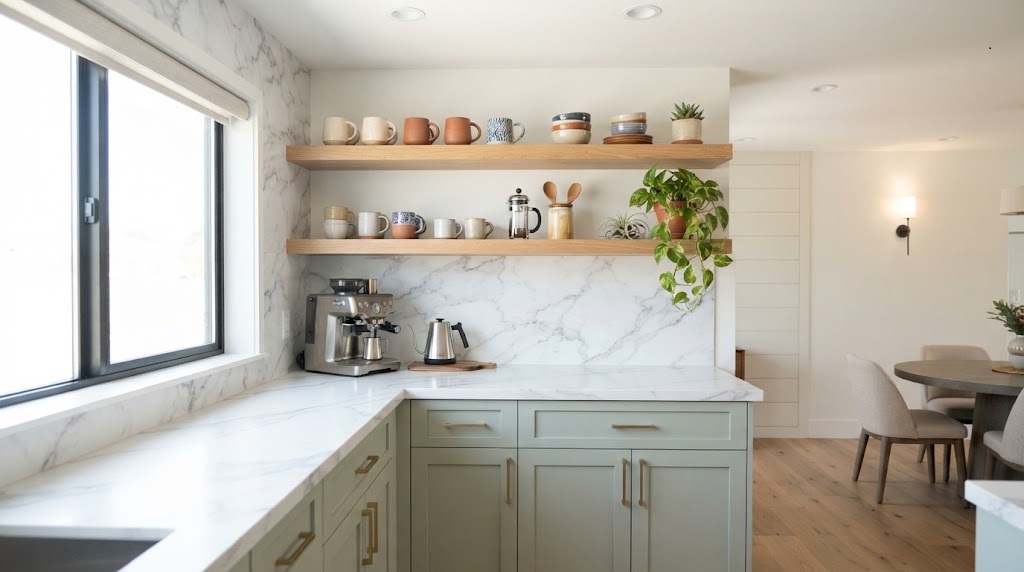
Updating kitchen and bathroom surfaces with traditional tile can cost thousands of dollars in contractor fees and material supplies. Using removable vinyl wallpaper featuring faux-subway tile, herringbone marble, or Moroccan mosaic patterns delivers an instant aesthetic upgrade at a fraction of the cost. Because the material repels steam and splashes, it performs exceptionally well behind bathroom vanities and kitchen countertops.
Furniture Refinishing and Bookshelf Backings
Do you have an old wooden dresser, a plain IKEA bookcase, or a scratched coffee table that needs a fresh look? Wrapping furniture surfaces with removable vinyl wallpaper adds instant charm and character.
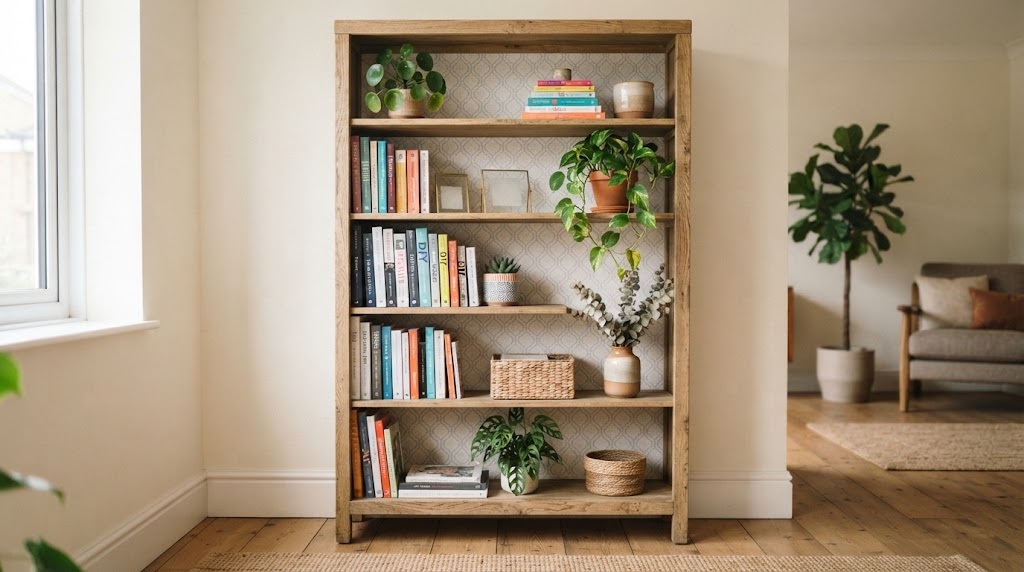
- Bookshelf Backings: Apply a bold floral or geometric vinyl print to the inside back panel of an open bookshelf to make books and decorative accessories pop.
- Dresser Drawer Fronts: Cover the exterior faces of wooden dresser drawers with wood-grain or textured vinyl film to give thrifted furniture a custom boutique feel.
- Stair Risers: Cut strips of colorful pattern vinyl to fit the vertical risers of your staircase, creating an eye-catching focal point in your entryway.
Frequently Asked Questions
Will removable vinyl wallpaper damage painted drywall?
When applied to properly cured, fully smooth painted drywall, high-quality peel-and-stick vinyl removes cleanly without damaging paint layers. However, if applied over peeling paint, unprimed drywall, or uncured fresh paint, the adhesive may lift loose paint flakes during removal.
Can removable vinyl wallpaper be used in humid bathrooms?
Yes. Synthetic vinyl is naturally water-resistant and handles ambient bathroom steam well. However, ensure the wall surface is completely dry prior to installation and avoid applying the paper directly inside shower stalls or areas with direct, continuous water spray.
How do you clean peel and stick vinyl wall coverings?
Clean vinyl surfaces by wiping gently with a soft microfiber cloth or sponge dampened with warm water and a mild dish soap. Avoid using abrasive scrubbing pads, bleach, or harsh chemical solvents that could scratch the protective top coat or fade printed dyes.
Can you stick removable vinyl wallpaper over textured walls?
It is not recommended for heavily textured surfaces like knockdown or popcorn walls. The air gaps created by rough textures prevent full adhesive contact, which can cause the panels to sag or peel over time. For lightly textured walls, test a small sample swatch for a week before committing to a full wall installation.
How long does peel and stick wallpaper last?
High-grade vinyl wallpaper can last 3 to 5 years or longer when properly installed in climate-controlled indoor environments. Its lifespan depends primarily on wall preparation, ambient humidity levels, and direct exposure to intense sunlight.
Can I reuse removable vinyl wallpaper after peeling it off?
While the adhesive remains tacky upon removal, reusing panels on a new wall can be challenging. Strips often stretch or distort slightly during removal, making pattern matching difficult on a second application. Saving the original paper backing roll makes temporary storage easier if you plan to move panels.
How do I eliminate air bubbles during installation?
If an air bubble forms during installation, use your smooth squeegee tool to push the trapped air toward the nearest panel edge. For stubborn, isolated bubbles, prick the center gently with a fine sewing pin and smooth the vinyl flat against the wall with your finger to release the trapped air.
Conclusion
In conclusion, incorporating removable vinyl wallpaper into your home decor strategy offers an extraordinary blend of artistic freedom, practical durability, and stress-free flexibility. By bridging the gap between temporary styling and permanent construction, peel-and-stick wall coverings empower renters and homeowners alike to experiment with bold patterns, rich textures, and creative color schemes.
Whether you are transforming a plain apartment living room with a dramatic accent wall, refreshing a kitchen backsplash with faux-tile prints, or upcycling vintage furniture pieces, the damage-free application ensures beautiful results without lasting consequences. Invest in high-quality materials, take time to prepare your wall surfaces thoroughly, and enjoy the effortless elegance of modern DIY interior design.

Written by Twastia Editorial Team
Twastia Editorial Team shares practical insights about website design, SEO services, Google Ads, content marketing, social media, conversion rate optimization, and digital marketing strategy.
Last updated: Oct 20, 2026
Related posts from Twastia
Explore more useful articles from twastia.com about digital marketing, SEO, websites, ads, content, and growth strategy.