Screen Recording Software Best Features, Uses, and Buying Guide
Explaining a complicated process through a long email can be frustrating. Sometimes, showing someone exactly what happens on your computer […]
Explaining a complicated process through a long email can be frustrating. Sometimes, showing someone exactly what happens on your computer is much easier than describing each step. Whether you are teaching an online class, demonstrating an application, or guiding a colleague through a workflow, screen recording software can turn your actions into a clear, reusable video.
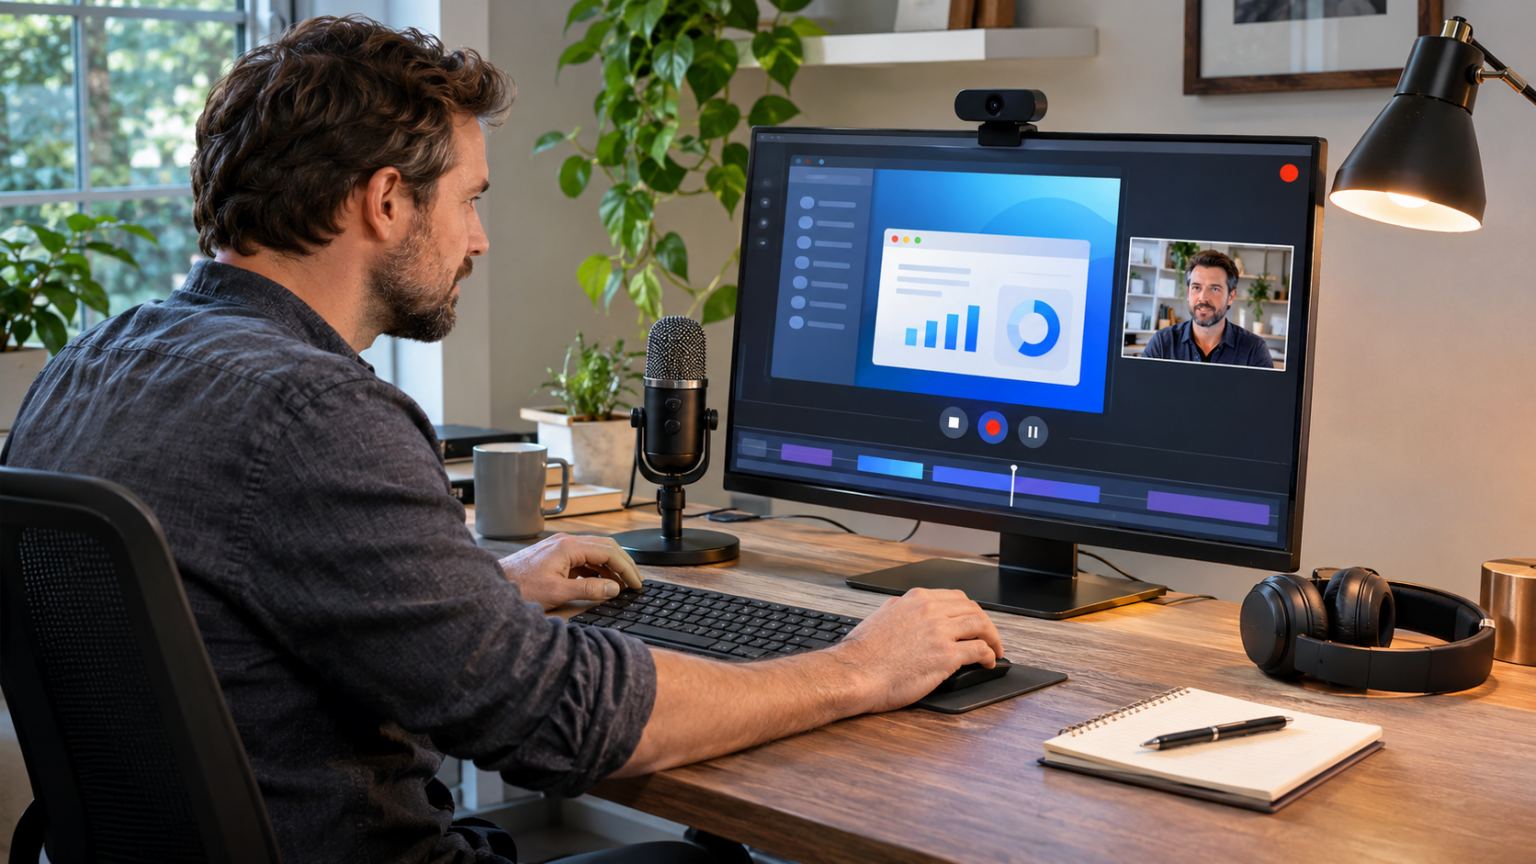
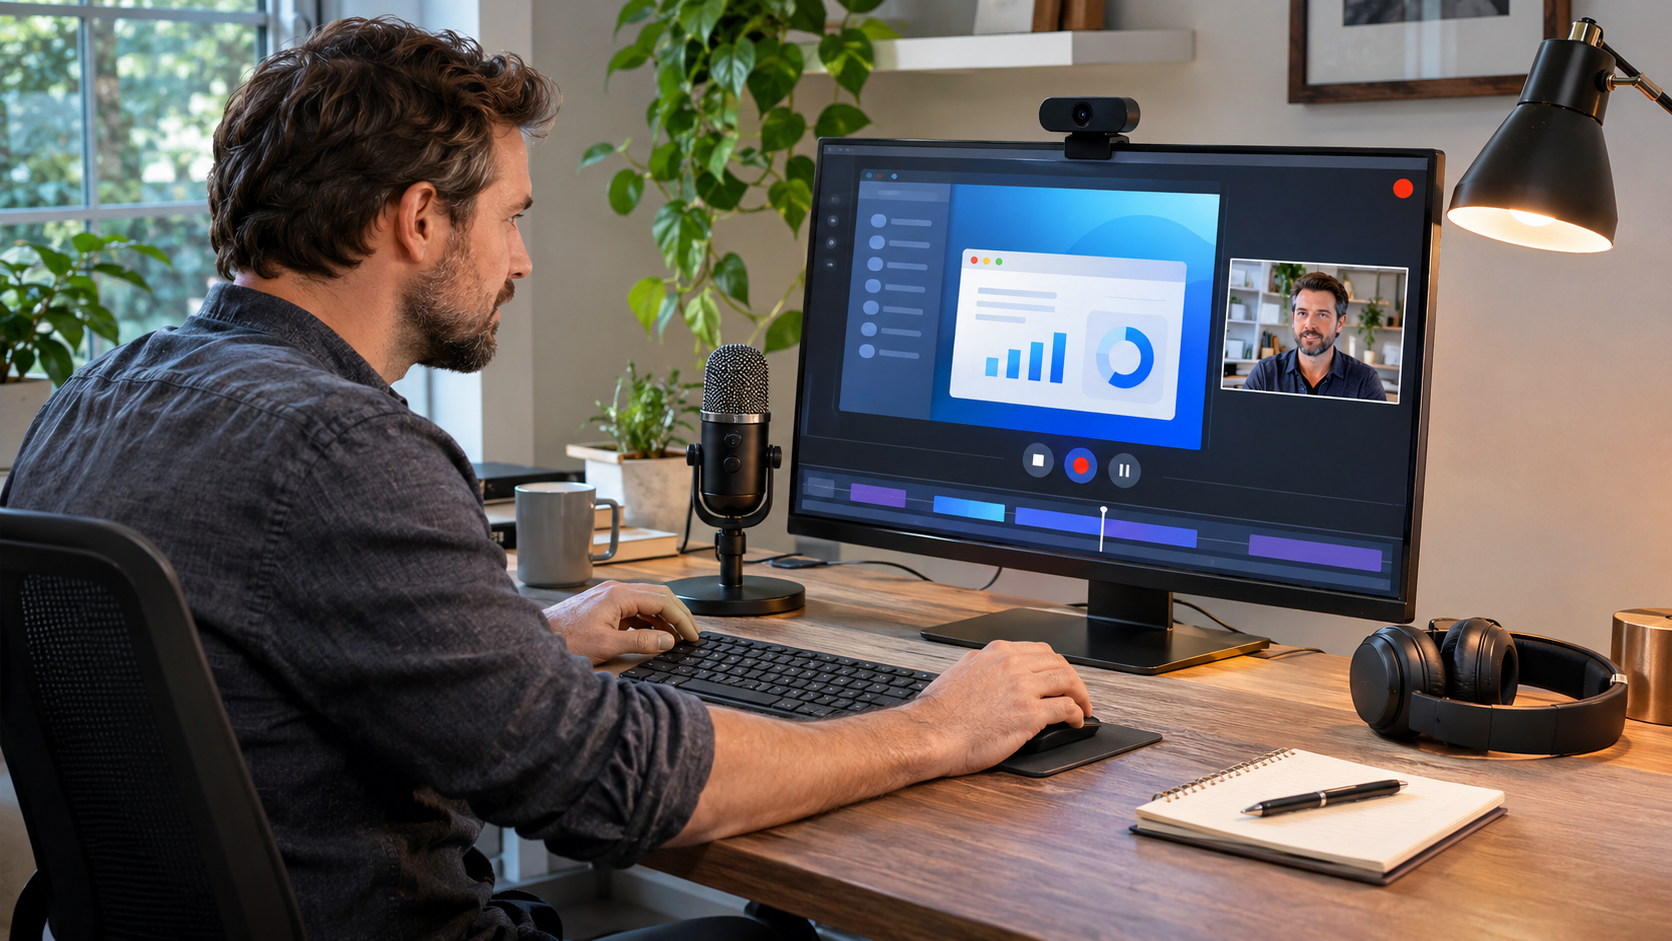
Modern recording tools offer more than basic screen capture. Depending on the application and subscription, you may be able to record your webcam, capture microphone and system audio, highlight cursor movements, edit mistakes, and share recordings through a link.
However, not every tool is suitable for every task. Recording duration, video quality, privacy settings, operating-system compatibility, and pricing can differ substantially.
This guide explains how recording tools work, which features matter most, and how to choose an option that fits your needs.
What Is a Screen Recorder and How Does It Work?
A screen recorder captures visual activity from a computer display and saves it as video. Depending on its design, the application may record an entire desktop, a particular window, or a selected region.
Some tools also capture microphone narration, system audio, and a webcam feed.
The main purpose of screen recording software is to communicate information visually. Rather than writing lengthy instructions, users can demonstrate a process as it happens.
For example, a customer support representative can record the steps needed to change an account setting, while a teacher can demonstrate a mathematical problem using an online whiteboard.
Different Recording Modes
Most recording applications offer some combination of three modes.
Screen only: Captures the selected display or application without showing the presenter.
Webcam only: Records the presenter through a connected camera.
Screen and webcam: Combines screen activity with a smaller video of the presenter.
The appropriate choice depends on whether viewers need to see the instructions, the speaker, or both.
Audio Makes Demonstrations Easier to Follow
A silent recording may be sufficient for simple visual demonstrations. More complicated explanations often benefit from spoken narration.
Some tools also support internal computer audio, allowing users to capture application sounds when necessary and permitted.
When comparing screen recording software, verify microphone and system-audio capabilities separately because they are not always included in the same plan.
1. Look for Simple Recording Controls
Ease of use is especially important for beginners.
An effective recorder should make it easy to choose the recording area, configure audio, start capturing, and stop the session without navigating complicated menus.
Select the Area You Want to Capture
Full-screen recording is useful when a demonstration involves several applications.
Window recording is more suitable when the tutorial focuses on one program.
Custom-area recording can help exclude unrelated notifications, personal information, or distracting desktop elements.
A useful feature of screen recording software is the ability to select the smallest area needed to explain a task clearly.
Check Recording Indicators and Shortcuts
An obvious recording indicator helps prevent accidental capture.
Keyboard shortcuts can also simplify the process when switching between applications or delivering a presentation.
Before recording important work, create a short test video to check whether the controls behave as expected.
2. Choose the Right Video Quality
A professional tutorial should be clear enough for viewers to read menus, understand cursor movements, and follow instructions.
Resolution is therefore an important consideration, but higher resolution is not always necessary.
Is 1080p Enough?
For many educational videos, software demonstrations, and workplace walkthroughs, 1080p can offer a useful balance of clarity and file size.
Higher resolutions may be valuable when demonstrating detailed interfaces or preparing content for large displays.
However, recording in 4K does not automatically improve an already blurry source or poorly framed demonstration.
When selecting screen recording software, consider recording resolution, export quality, and any plan-specific restrictions.
Understand Frame Rate
Frame rate describes how many images are recorded each second.
A typical software tutorial may not require the same frame rate as a fast-paced gameplay recording.
Higher frame rates can produce smoother motion, but they may also increase processing demands and file sizes.
Choose settings appropriate to the movement and detail viewers need to see.
3. Consider Webcam and Microphone Features
Showing your face is not necessary for every tutorial, but it can make educational and professional communication more personal.
A webcam overlay may help viewers connect spoken explanations with the person presenting them.
Position the Webcam Carefully
Place the camera preview where it will not cover important controls or text.
Some applications allow presenters to change webcam size, shape, or background.
For example, Vmaker screen recording software advertises screen and webcam recording, microphone and internal audio capture, virtual backgrounds, and screen annotations. The company also offers tools for editing and sharing recordings. HD Quality, No Lag+1
These are vendor-described features, so check the current plan before assuming that every capability is included free.
Record Clear Narration
Use a quiet room and position the microphone near your speaking location.
Avoid recording beside loud fans, televisions, or other background noise.
Test the audio before starting a long lesson.
Even excellent screen recording software cannot fully compensate for a microphone that is disconnected or positioned too far away.
4. Choose Tools That Support Editing and Annotations
Recording a demonstration perfectly on the first attempt is difficult. You may pause unexpectedly, open the wrong menu, or spend too long explaining a simple action.
Built-in editing can make the finished video more useful without requiring a separate professional editing application.
Trim Unnecessary Sections
Basic editing features such as trimming and splitting help remove mistakes, long pauses, and irrelevant steps.
Cropping can also improve composition when the original recording includes unnecessary desktop areas.
The most practical screen recording software lets you correct small problems quickly rather than repeating an entire presentation.
Highlight Important Actions
Annotations, cursor emphasis, and drawing tools can direct attention toward buttons, settings, or other important details.
Vmaker’s official feature overview includes on-screen drawing, mouse emphasis, and a blur tool for concealing selected information. Vmaker AI
Use these features selectively. Too many visual effects can make a tutorial harder to follow.
Consider Subtitles and Accessibility
Captions can help people who cannot hear the narration clearly or prefer watching without sound.
Automated subtitles are convenient, but they may misinterpret technical terms, names, and accents.
Review captions before publishing, especially for educational or professional content.
5. Compare Free and Paid Plans Carefully
Free recording tools can work well for short tutorials, personal use, and occasional demonstrations.
However, recording duration, export resolution, storage, editing, and download limits may differ between subscription tiers.
A key consideration when choosing screen recording software is understanding what the free plan actually includes.
Watch for Recording Limits
Some products allow users to create unlimited numbers of recordings while restricting the length of each video.
These are two different features.
Vmaker’s screen recorder landing page advertises unlimited recording quantity, while its current pricing comparison lists a one-minute limit for the free recording tier. Another section of the landing page still describes a seven-minute free limit. Because these official pages are inconsistent, verify the applicable limit in your account before relying on it for longer recordings. HD Quality, No Lag+1
Review Watermarks and Downloads
Some free recording products add branding to exported videos or restrict downloads.
Others limit video quality, cloud storage, or the number of projects.
Before committing to screen recording software, check whether your intended output can be saved in the required format and whether any watermark applies.
Look Beyond the Monthly Price
Business users should also examine collaboration features, shared workspaces, storage allowances, access controls, and administrative options.
A lower subscription price may not provide the tools required by a larger team.
If your needs are simple, paying for features you rarely use may offer little value.
6. Protect Privacy and Sensitive Information
A screen recording can capture more information than the presenter realizes.
Email notifications, customer records, account numbers, browser tabs, and internal documents may appear unexpectedly.
Privacy protection should be part of the recording process from the beginning.
Prepare Your Desktop
Before recording, close unrelated applications and disable unnecessary notifications.
Use a demonstration account rather than a real customer account when practical.
Hide personal information, confidential messages, and financial details.
The safest screen recording software workflow combines careful preparation with suitable application controls.
Understand Screen-Recording Permissions
On macOS, users can manage which applications have permission to record their screen and system audio through Privacy & Security settings. Apple also advises reviewing the privacy practices of third-party tools granted access. Apple Support
Recording software may require comparable permissions on other systems.
Only grant access to applications you trust, and review permissions periodically.
Check Sharing Permissions
Cloud-hosted videos can be convenient, but sharing links should be managed carefully.
Look for options such as restricted access, expiration controls, and appropriate account security.
Before uploading sensitive recordings, review the provider’s data handling and retention policies.
Do not assume that a shareable link is private merely because it is difficult to guess.
7. Use Recording Tools for Education and Training
Teachers, students, and trainers can use recorded demonstrations to explain complex processes.
Unlike a live presentation, a recorded lesson can be paused, replayed, or reviewed at a convenient time.
Create Reusable Lessons
Teachers may record software walkthroughs, explain spreadsheet formulas, demonstrate research techniques, or review course concepts.
When preparing lessons, screen recording software can make it easier to combine narration with visual examples.
Keep individual videos focused on a manageable topic.
A short lesson explaining one process may be easier to revisit than a lengthy recording covering several unrelated activities.
Support Students With Different Learning Needs
Provide captions where possible and use readable text sizes.
Avoid moving the cursor rapidly or switching windows without explanation.
Clearly introduce each step and summarize important points before moving on.
Recorded lessons should complement, not automatically replace, opportunities for students to ask questions and receive feedback.
8. Improve Communication in Remote Teams
Remote work often requires explaining technical issues, reviewing projects, and sharing progress across different schedules.
A recording can sometimes communicate a problem more efficiently than arranging another meeting.
For remote teams, screen recording software can support asynchronous communication by allowing colleagues to watch explanations when they are available.
Explain Processes Visually
A project manager might demonstrate changes to a dashboard.
A designer could walk through a website prototype.
A customer support specialist might create a short tutorial showing how to resolve a common software issue.
These videos can reduce repeated explanations when the same questions arise.
Build a Useful Training Library
Organize approved recordings by topic, department, or workflow.
Use meaningful filenames and descriptions so employees can find the relevant instructions.
Review recordings when processes change. Outdated training videos can create confusion if they display old interfaces or incorrect procedures.
9. Compare Dedicated Recorders With Built-In Tools
Before paying for another application, check whether your computer already includes a suitable recording feature.
Windows Recording Options
Windows 11 includes a screen-recording function in the Snipping Tool. Microsoft also identifies Xbox Game Bar and Clipchamp as available recording options for supported Windows workflows. Microsoft Support
Built-in tools may be sufficient for basic demonstrations.
However, users needing advanced annotations, hosting, automated workflows, or team collaboration may prefer dedicated screen recording software.
Recording on a Mac
Apple provides built-in screen recording through its Screenshot application.
Users can open the recording controls using Shift-Command-5, then select the appropriate capture mode. Apple Support (UK)
For more advanced production requirements, compare compatible third-party tools and their permissions.
When a Dedicated Application Makes Sense
Consider specialized software when you regularly record lessons, need to capture a webcam and screen together, or want integrated editing and sharing.
Also review whether the application works reliably with your operating system and hardware.
The right choice depends on your workflow rather than the number of features advertised.
10. Create Better Recordings With a Simple Workflow
A good video starts before the recording button is pressed.
Decide what viewers should learn, prepare a short outline, and organize the applications you intend to demonstrate.
Follow a Practical Recording Process
- Define the objective. Identify the exact task or concept the video will explain.
- Prepare the screen. Close unrelated tabs, remove sensitive information, and enlarge important interface elements.
- Check audio and camera settings. Record a brief test to confirm your microphone and webcam work correctly.
- Capture the demonstration. Explain actions clearly, using a steady pace and intentional cursor movement.
- Review and edit. Remove unnecessary sections, correct captions, and check the audio.
- Share securely. Choose the appropriate export format or sharing permissions for your audience.
This process helps users get more value from screen recording software without relying on expensive equipment.
Keep the Viewer in Mind
Recordings should answer a specific question or demonstrate a clear outcome.
Avoid long introductions when viewers simply need instructions.
Pause briefly after important actions so people can follow what changed on the screen.
Quality depends as much on communication as it does on technical recording specifications.
Frequently Asked Questions
What is the best tool for recording a computer screen?
The best choice depends on whether you need basic capture, webcam video, editing, cloud sharing, or team features. Compare operating-system compatibility, recording limits, export options, and privacy controls before choosing.
Can I record my screen for free?
Yes. Windows and macOS provide built-in recording options, and various third-party applications offer free plans. Check duration limits, watermarks, and download restrictions before starting a lengthy recording.
Can I record my screen and webcam together?
Many dedicated applications support simultaneous screen and webcam capture. Vmaker is one example, although feature availability depends on the applicable plan and platform.
Does recording software capture computer audio?
Some applications capture microphone narration, system audio, or both. The exact capabilities depend on the application, operating-system permissions, and subscription level.
Is it safe to record online meetings?
Recording meetings may be appropriate when participants have been informed and any legally required consent has been obtained. Check workplace policies, privacy requirements, and the meeting platform’s rules before recording or distributing a session.
Is cloud-based recording better than saving videos locally?
Neither option is always better. Cloud storage can simplify collaboration, while local storage can offer more direct control over files. When evaluating screen recording software, consider data sensitivity, sharing requirements, storage capacity, and internet access.
Conclusion
Recording your screen can simplify teaching, customer support, project communication, and digital content creation. However, a successful recording depends on much more than pressing a button.
Choose tools based on clear video quality, reliable audio, convenient editing, appropriate recording limits, and suitable privacy controls.
For individuals and organizations exploring screen recording software, Vmaker is one option worth examining for its combination of screen capture, webcam recording, annotations, editing, and sharing capabilities. You can review its features through the official Vmaker screen recorder page.
Ultimately, the right screen recording software is the one that helps you communicate clearly without introducing unnecessary complexity, expense, or privacy risks.

Written by Twastia Editorial Team
Twastia Editorial Team shares practical insights about website design, SEO services, Google Ads, content marketing, social media, conversion rate optimization, and digital marketing strategy.
Last updated: Nov 12, 2026
Related posts from Twastia
Explore more useful articles from twastia.com about digital marketing, SEO, websites, ads, content, and growth strategy.