Fine Art Wheel Throwing Workshop: Best Expert Secrets for Beautiful Pottery
Creating beautiful pottery from a simple lump of clay is a fascinating artistic process. What begins as a rotating piece […]
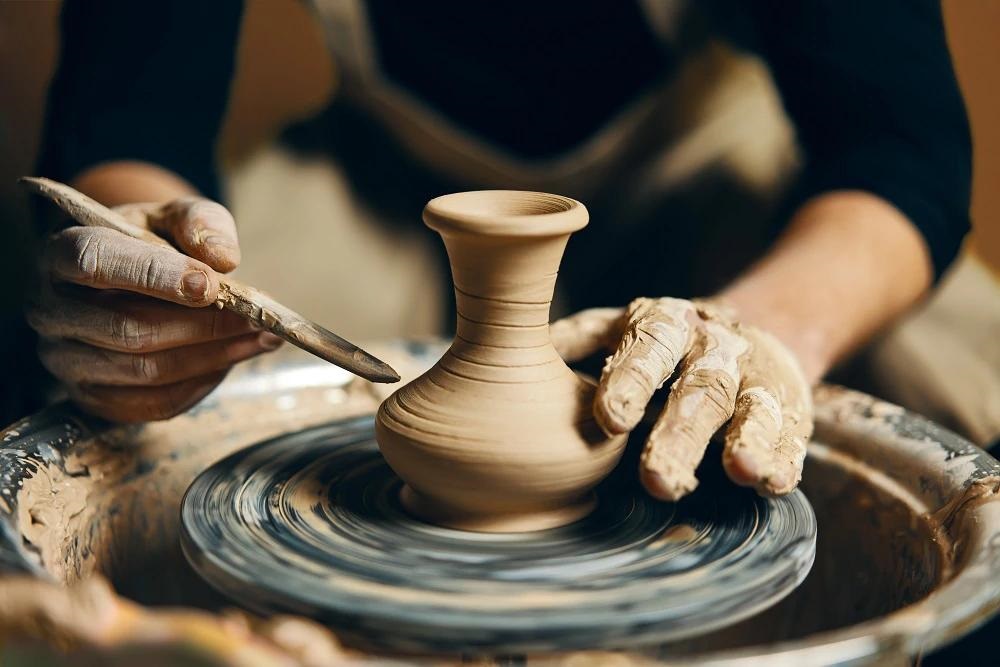
Creating beautiful pottery from a simple lump of clay is a fascinating artistic process. What begins as a rotating piece of earth can gradually become an elegant vase, a decorative bowl, or a unique ceramic sculpture. Behind every successful piece lies a combination of patience, technical knowledge, creativity, and hands-on experience.
A Fine Art Wheel Throwing Workshop offers an excellent opportunity to explore this creative process while learning practical techniques from experienced ceramic artists. Whether you are a complete beginner or someone looking to improve your pottery skills, professional instruction can help you understand how clay behaves and how to control it.
Wheel throwing is more than simply forming objects on a rotating wheel. It requires an understanding of pressure, movement, balance, moisture, and timing. Skilled potters develop these abilities through regular practice, gradually transforming basic techniques into artistic expression.
In this guide, we explore the essential skills taught in a Fine Art Wheel Throwing Workshop, reveal useful techniques shared by experienced potters, and explain how you can develop your own distinctive ceramic style.
What Is a Fine Art Wheel Throwing Workshop?
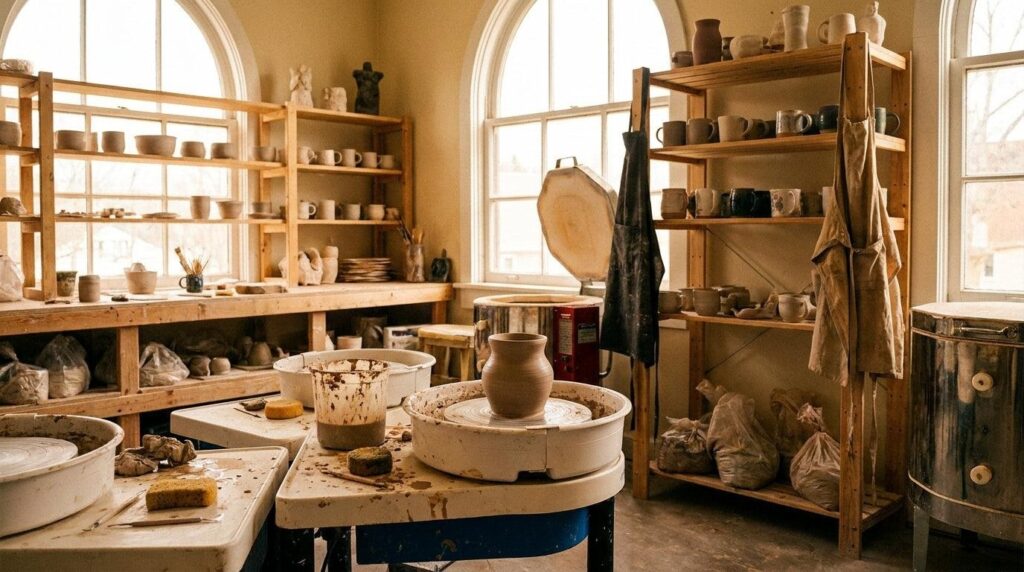
A Fine Art Wheel Throwing Workshop is a practical ceramics learning experience where participants use a potter’s wheel to create handmade clay objects.
Unlike basic craft activities focused only on producing a finished item, fine art pottery workshops often place greater emphasis on craftsmanship, design, personal expression, and technical development.
Participants learn how to prepare clay, center it on the wheel, open the form, pull the walls, shape the vessel, and complete the finishing process.
An instructor may also introduce decorative techniques, surface textures, glazing methods, and contemporary ceramic design.
How Wheel Throwing Works
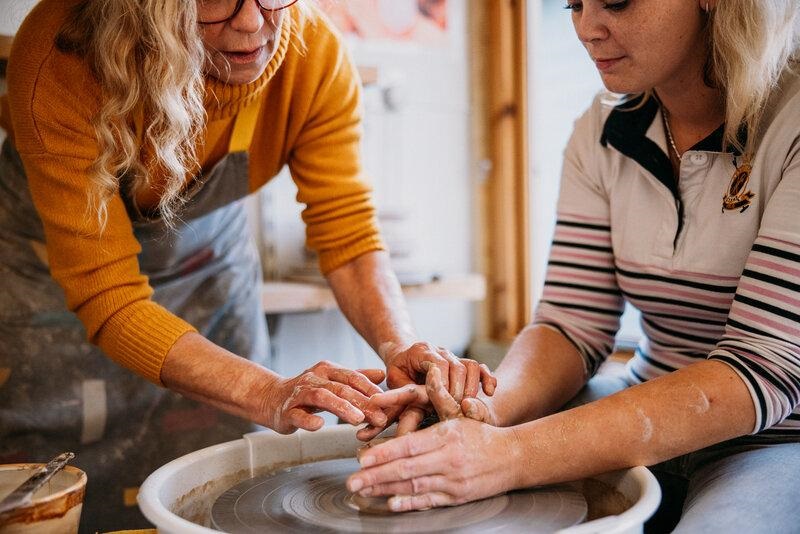
Wheel throwing involves placing clay on a rotating pottery wheel and shaping it with carefully controlled hand movements.
As the wheel spins, the potter applies pressure to move the clay inward, upward, or outward.
The wheel provides rotational movement, while the artist controls the final shape.
Successful throwing depends on maintaining balance and applying even pressure throughout the process.
With practice, students can create functional objects such as cups and bowls, along with decorative vessels and more experimental ceramic forms.
Why Learn Pottery From Experienced Ceramic Artists?
Learning pottery independently can be rewarding, but professional instruction often makes difficult techniques easier to understand.
Experienced potters can observe your hand positioning, identify mistakes, and explain why a particular form is becoming unstable.
A well-structured Fine Art Wheel Throwing Workshop provides guidance that can help students build confidence and improve their technical skills.
Learning Through Hands-On Demonstrations
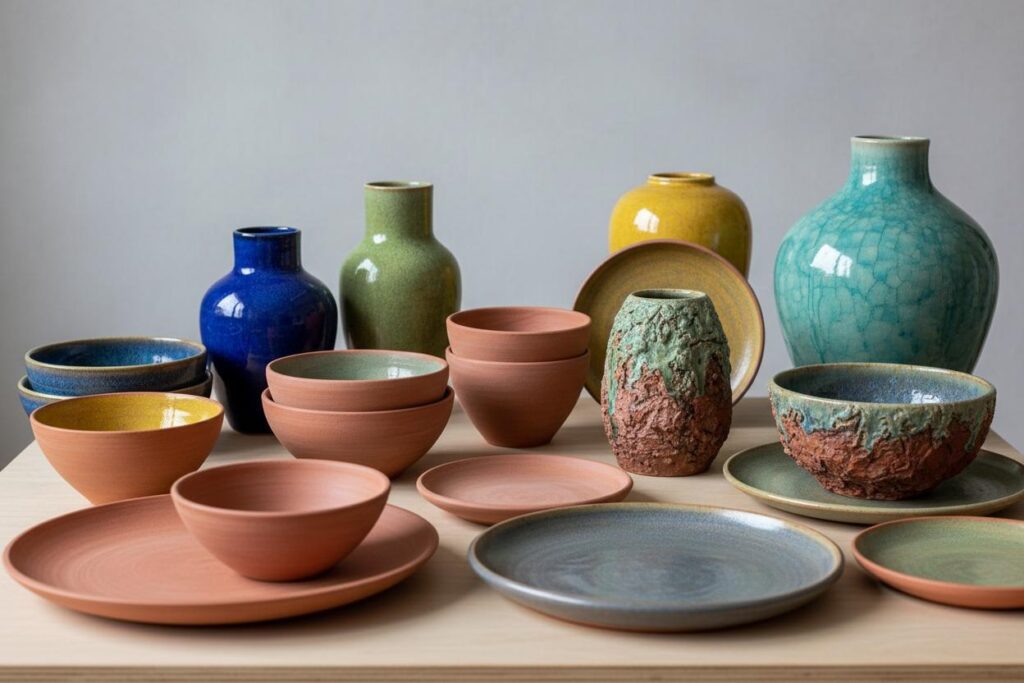
One of the greatest benefits of attending a pottery workshop is watching an experienced artist demonstrate each step.
Students can observe how the instructor applies pressure, changes wheel speed, and positions their hands.
These details are sometimes difficult to understand through written instructions alone.
Professional demonstrations also reveal that pottery requires controlled movements rather than physical strength.
Receiving Personalised Feedback
Every student develops pottery skills differently.
Some struggle with centering clay, while others find it difficult to create even walls or maintain consistent shapes.
An instructor can identify these challenges and suggest exercises suited to the individual.
This personalised feedback helps students understand mistakes as part of the creative learning process.
Expert Secret 1: Master the Art of Centering Clay
Centering is one of the most important skills in wheel throwing.
Before creating a vessel, the clay must rotate evenly around the wheel’s central axis.
If the clay is not properly centered, the finished piece may become uneven, unstable, or difficult to shape.
How Professional Potters Center Clay
Begin by securing a prepared ball of clay firmly onto the wheel head.
Wet your hands lightly and start rotating the wheel at a comfortable speed suitable for centering.
Use your hands to apply steady pressure while keeping your elbows or forearms supported.
Gradually guide the clay into a balanced mound, reducing unwanted movement.
Experienced pottery instructor Kara Leigh Ford emphasises the importance of bracing the arms, adjusting wheel speed, and controlling water use when learning wheel throwing. ceramicartsnetwork.org
Common Centering Mistakes to Avoid
Beginners often apply inconsistent pressure or move their hands too quickly.
Other common mistakes include using excessive water, working with an unstable posture, or attempting to shape the clay before it is centered.
Focus on smooth movements and consistent hand positioning.
Practicing centering repeatedly may seem repetitive, but it creates a strong foundation for more advanced pottery techniques.
Expert Secret 2: Prepare Your Clay Properly
Beautiful pottery begins before the wheel starts spinning.
Clay preparation influences the consistency, workability, and structural quality of the finished piece.
In a Fine Art Wheel Throwing Workshop, instructors typically explain how different clay bodies respond to pressure, moisture, and firing.
Understanding Clay Types
Several clay bodies are commonly used in pottery studios.
Earthenware is often suitable for decorative pottery and certain functional projects, depending on the glaze and firing process.
Stoneware is popular for durable bowls, mugs, and other handmade ceramic objects.
Porcelain can produce refined, delicate-looking pottery but may be more challenging to throw because of its working characteristics.
The best choice depends on the intended design, studio equipment, and the artist’s experience.
Why Wedging Matters
Wedging involves kneading and compressing clay to create a more consistent working texture.
It helps distribute moisture, improve uniformity, and reduce air pockets.
A properly prepared clay body is generally easier to control on the wheel.
Beginners should start with manageable quantities of clay rather than attempting large vessels immediately.
As confidence improves, students can gradually experiment with bigger and more complicated forms.
Expert Secret 3: Control the Wheel Speed and Hand Pressure
Successful wheel throwing requires coordination between the rotating wheel and the artist’s hands.
Applying too much force can distort the clay, while insufficient support may cause the vessel to become unstable.
Finding the Right Wheel Speed
Faster wheel speeds are commonly used during centering, while slower speeds become useful as the vessel grows taller or thinner.
However, the ideal speed depends on clay consistency, vessel size, and the technique being performed.
Beginners should focus on developing smooth, deliberate movements rather than working quickly.
Creating Even Clay Walls
After centering and opening the clay, the next step involves pulling the walls upward.
Place one hand inside the vessel and the other outside.
Apply gentle, coordinated pressure while gradually moving upward.
Keep the movement steady and maintain adequate moisture without oversaturating the clay.
Uneven pressure can create thin spots that may weaken the structure.
Experienced potters often encourage students to master a basic cylinder before attempting complex shapes.
Expert Secret 4: Learn to Shape Elegant Ceramic Forms
Once you understand centering and wall pulling, pottery becomes increasingly creative.
The same basic techniques can produce bowls, cups, vases, planters, and decorative sculptures.
An advanced Fine Art Wheel Throwing Workshop may explore how subtle changes in pressure and hand movement influence the silhouette of a vessel.
Creating Bowls and Vases
For bowls, the walls are gradually opened outward to create a curved interior.
For vases, the clay is generally pulled upward before specific sections are widened or narrowed.
The goal is to create a balanced shape with appropriate wall thickness and structural support.
Developing Your Own Artistic Style
Fine art pottery encourages students to explore design beyond technical perfection.
Some artists prefer clean, symmetrical vessels, while others intentionally create organic contours or distinctive surface textures.
Experimenting with proportions, rim shapes, and decorative details can help you develop a recognisable artistic identity.
A successful ceramic piece combines craftsmanship with personal expression.
Expert Secret 5: Understand Water Management
Water is essential during wheel throwing because it reduces friction between the hands and clay.
However, excessive water can weaken a vessel and make it difficult to maintain its shape.
Experienced potters develop an understanding of how much moisture is needed at each stage.
How Much Water Should You Use?
Use enough water to keep your hands moving smoothly across the clay.
If the surface becomes excessively slippery or the walls begin losing strength, reduce the amount of water being added.
A small sponge can help distribute moisture more carefully.
Why Moisture Balance Matters
Clay that becomes too wet may collapse during shaping.
Clay that becomes too dry can resist movement and create friction.
Maintaining appropriate moisture helps preserve the vessel’s structure while allowing controlled shaping.
Learning this balance is one of the most valuable skills students can develop.
Expert Secret 6: Perfect the Trimming and Finishing Process
Throwing a successful vessel is only part of the pottery-making journey.
Once the clay reaches the appropriate firmness, additional finishing techniques can refine its shape and appearance.
This stage often transforms an ordinary clay object into a more polished ceramic artwork.
What Is Leather-Hard Clay?
Leather-hard clay has dried enough to hold its shape while remaining slightly damp and workable.
At this stage, potters can trim excess clay, refine the base, and add certain decorative features.
Creating a Professional Finish
Trimming tools are used to remove excess clay and create a balanced foot ring where appropriate.
Artists may also refine the rim, smooth rough areas, or introduce surface patterns.
Pottery expert Vince Pitelka’s techniques highlight the importance of proper base formation and compression to help prevent drying and firing problems. ceramicartsnetwork.org
Careful finishing improves both the visual quality and practical functionality of ceramic pieces.
Exploring Glazing and Ceramic Decoration
Glazing introduces another creative dimension to handmade pottery.
Ceramic glazes can add colour, texture, visual depth, and a protective surface to fired clay.
The results depend on glaze composition, application methods, clay compatibility, and firing conditions.
Popular Ceramic Decoration Techniques
Pottery workshops may introduce several decorative approaches:
- Dipping: Submerging pottery into prepared glaze for even coverage.
- Brushing: Applying glaze with brushes for controlled decorative effects.
- Underglazing: Adding colours or designs before a suitable clear glaze.
- Texturing: Creating patterns using carving tools, stamps, or other techniques.
- Layering: Combining compatible glazes to produce varied surface effects.
Students should always follow studio instructions when working with glazes and kilns.
Glaze safety, firing temperatures, and food-contact suitability require particular attention when making functional ceramics.
What to Expect During Your First Wheel Throwing Workshop
Attending your first Fine Art Wheel Throwing Workshop can feel exciting and slightly intimidating.
Fortunately, beginner-friendly classes usually introduce pottery techniques gradually.
Essential Pottery Tools and Equipment
A typical workshop may provide pottery wheels, prepared clay, water containers, sponges, shaping ribs, cutting wires, trimming tools, and protective aprons.
Some studios also include glazing and firing services, while others charge separately for completed work.
Before booking, check exactly what the workshop includes.
The Typical Workshop Experience
A session often begins with an introduction to studio safety, equipment, and basic clay preparation.
The instructor then demonstrates centering and opening techniques before allowing participants to practice.
Students may attempt a cylinder, bowl, or small vessel depending on their experience and the session’s duration.
Longer courses often include trimming, decoration, glazing, and discussions about kiln firing.
Finished pottery typically needs drying and firing, so it may not be available to take home immediately.
Important Pottery Studio Safety Tips
Ceramics workshops should provide a comfortable and safe environment for creativity.
One important concern is airborne silica dust from dried clay and certain powdered glaze materials.
The Australian Government’s silica safety guidance recommends avoiding dry sanding and sweeping, and using appropriate wet-cleaning methods to minimise dust exposure. asbestossafety.gov.au
Students should follow the studio’s safety procedures, keep workspaces clean, and avoid handling unfamiliar chemicals or kiln equipment without instruction.
Comfortable clothing, closed-toe shoes, and secured long hair can also make wheel throwing safer and more enjoyable.
How to Choose the Best Fine Art Wheel Throwing Workshop
Not every pottery class offers the same experience.
Choosing the right workshop depends on your skill level, artistic goals, and preferred learning environment.
Look for Experienced Instructors
Choose a workshop led by ceramic artists who can demonstrate essential techniques and provide constructive feedback.
Instructors should explain processes clearly and support students at different stages of learning.
Consider Class Size and Facilities
Smaller classes may provide more opportunities for individual guidance.
Check whether participants receive their own wheel, whether materials are included, and whether the studio provides firing services.
It is also useful to understand how many finished pieces are included in the course fee.
Match the Workshop to Your Goals
Beginners may benefit from introductory sessions focused on basic cylinders and bowls.
More experienced students might prefer advanced classes exploring taller vessels, specialised forms, decorative surfaces, or artistic development.
Selecting a workshop that matches your objectives can make the learning experience more productive.
Frequently Asked Questions About Fine Art Wheel Throwing Workshops
Is a Fine Art Wheel Throwing Workshop Suitable for Beginners?
Yes. Many workshops welcome complete beginners and provide structured instruction covering clay preparation, centering, shaping, and finishing. Introductory classes are usually designed for participants with little or no previous pottery experience.
How Long Does It Take to Learn Wheel Throwing?
Basic techniques can be introduced during a single workshop, but developing consistent control takes regular practice. The time required depends on individual progress, lesson frequency, and the complexity of the pottery being created.
What Should I Wear to a Pottery Workshop?
Wear comfortable clothing that can get dirty and choose closed-toe shoes. Avoid loose jewellery and secure long hair before using a pottery wheel. Many studios provide aprons, but checking beforehand is recommended.
Can I Take My Pottery Home on the Same Day?
Usually, wet pottery must dry before being fired in a kiln. Depending on the studio’s processes, glazing and additional firing may also be required. Collection times vary, so ask the workshop provider about its schedule.
Do I Need Artistic Experience to Join?
No previous artistic experience is required for most beginner classes. Wheel throwing is a practical skill developed through observation, repetition, and guided instruction. Creativity and technical confidence generally improve with practice.
What Can I Create at a Wheel Throwing Workshop?
Depending on your experience, you may create bowls, mugs, small planters, decorative vessels, or simple vases. Advanced workshops may introduce larger pieces, specialised forms, and more experimental ceramic designs.
Conclusion
A Fine Art Wheel Throwing Workshop offers much more than an introduction to pottery. It provides an opportunity to develop practical craftsmanship, explore creative ideas, and discover the satisfaction of making something by hand.
From preparing and centering clay to controlling wheel speed, shaping vessels, trimming surfaces, and experimenting with glazes, every stage teaches valuable artistic skills.
The techniques shared by experienced ceramic artists demonstrate that successful pottery depends on patience, consistency, careful observation, and regular practice.
Whether your goal is to create functional handmade ceramics, explore a relaxing creative hobby, or develop a distinctive fine art practice, learning wheel throwing can be a rewarding experience.
With the right guidance, every piece of clay becomes an opportunity to learn, experiment, and create something uniquely your own.

Written by Twastia Editorial Team
Twastia Editorial Team shares practical insights about website design, SEO services, Google Ads, content marketing, social media, conversion rate optimization, and digital marketing strategy.
Last updated: Nov 4, 2026
Related posts from Twastia
Explore more useful articles from twastia.com about digital marketing, SEO, websites, ads, content, and growth strategy.