How to Cut Out Cabinet for Stainless Steel Farmhouse Sink Installation: Best Guide
A stainless steel farmhouse sink can completely transform the appearance of a kitchen. Its deep basin, exposed front panel, and […]
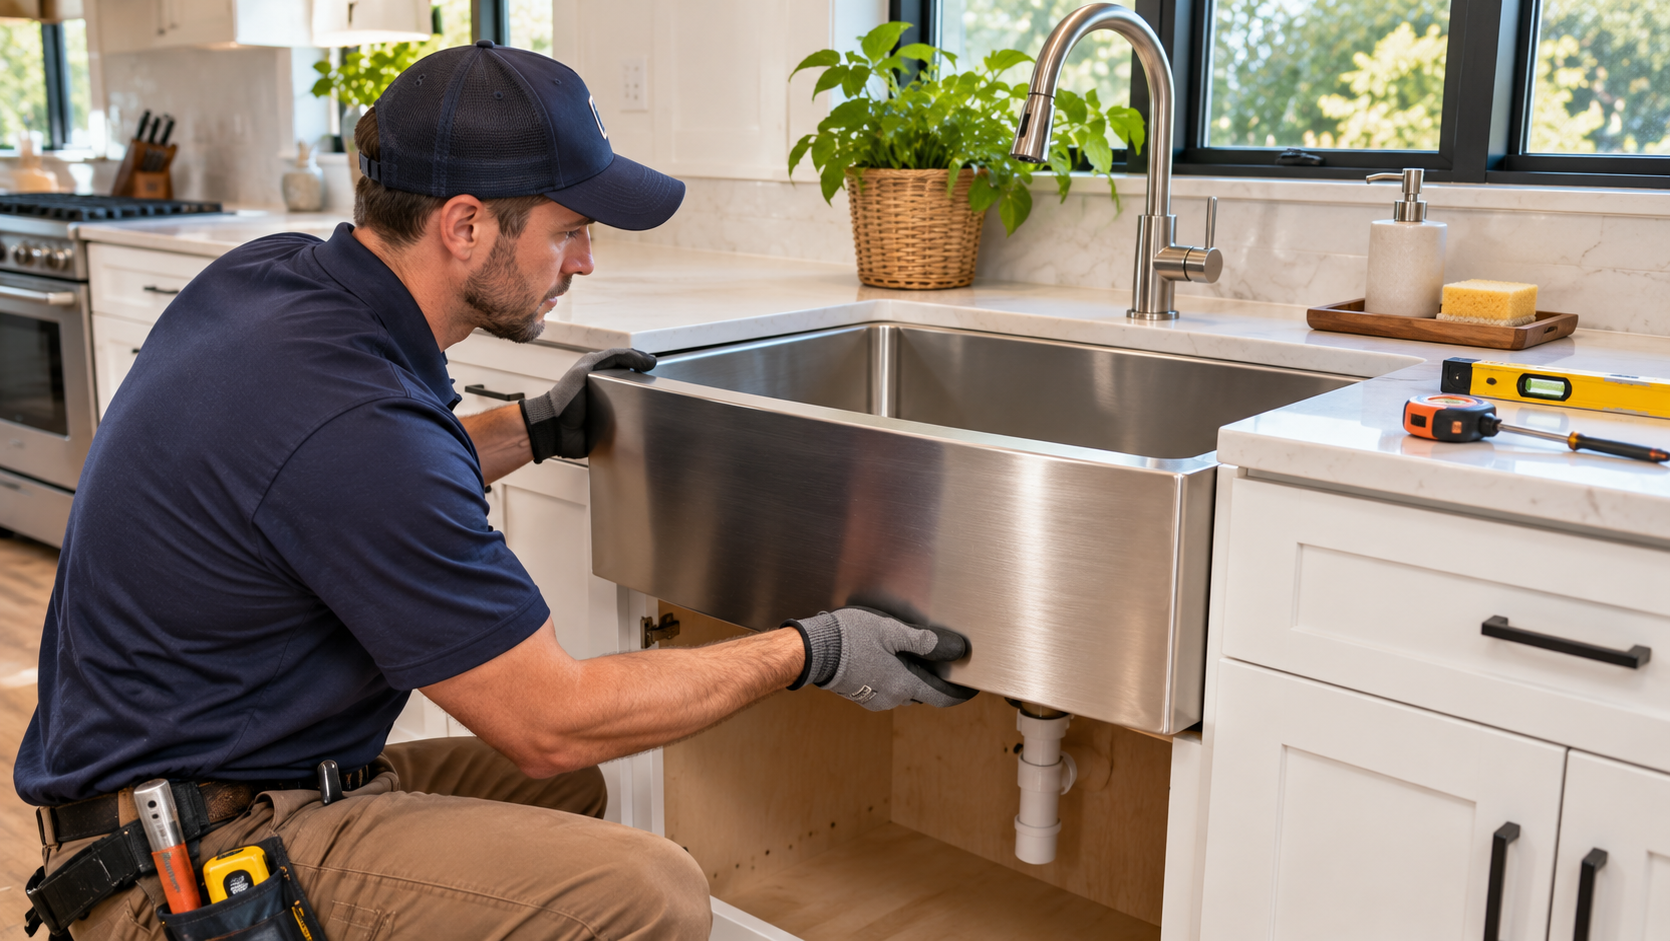
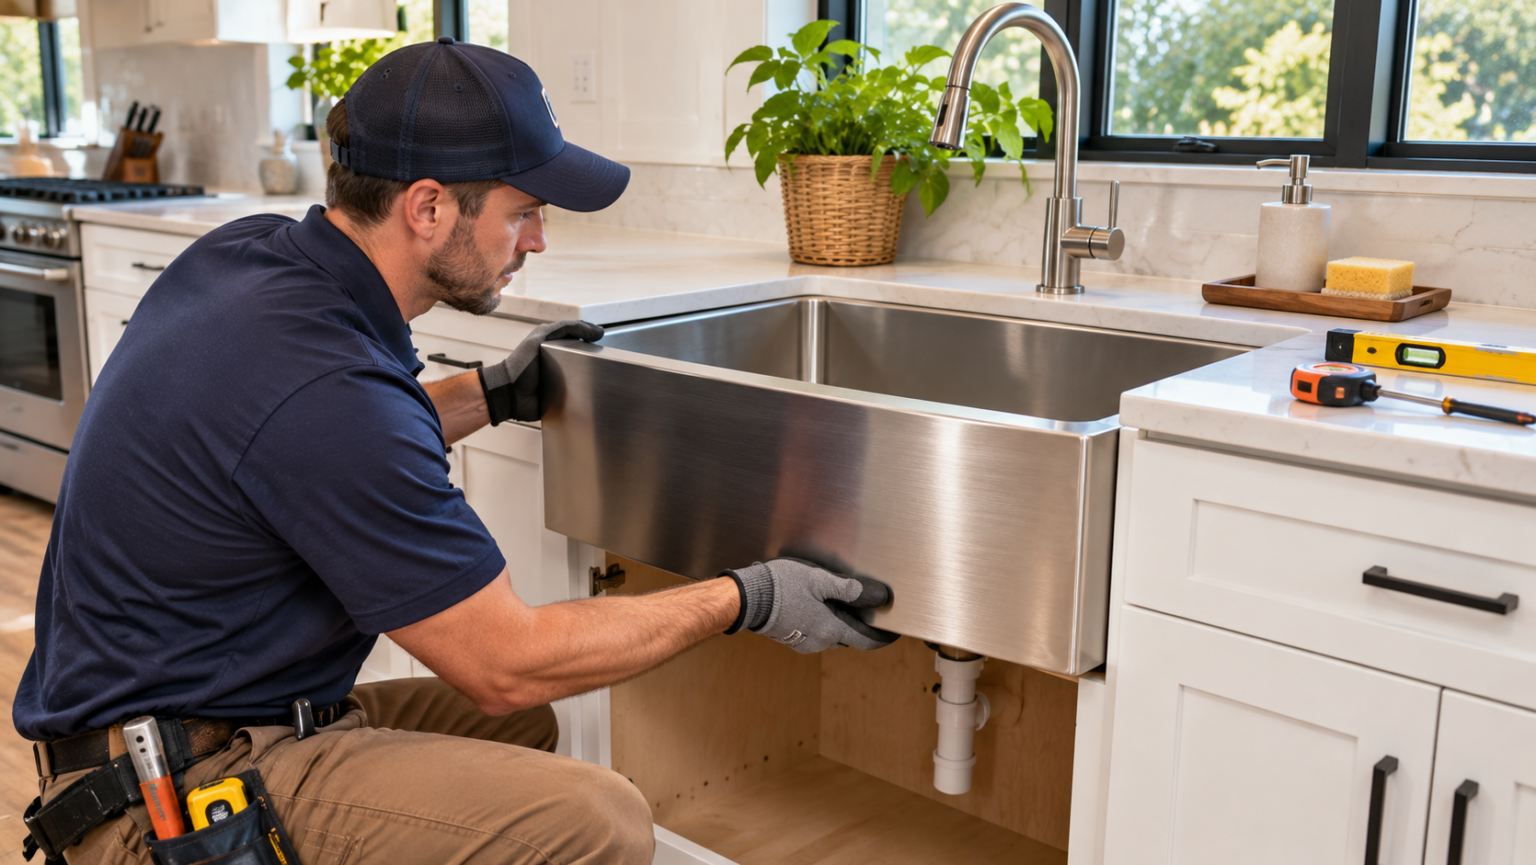
A stainless steel farmhouse sink can completely transform the appearance of a kitchen. Its deep basin, exposed front panel, and practical design make it a popular feature in both traditional and contemporary homes.
However, installing an apron-front sink is different from installing a conventional drop-in or undermount sink. The front of the base cabinet must accommodate the sink’s exposed apron, and the sink needs suitable structural support beneath it.
Understanding How to Cut Out Cabinet for Stainless Steel Farmhouse Sink Installation is important before removing any cabinet material. Even a small measurement error can leave visible gaps, weaken the cabinet, or make the sink difficult to position correctly.
The installation process depends on the actual sink model, cabinet construction, countertop material, and available plumbing space. Some sinks include paper templates, while others require installers to measure the physical sink.
Manufacturer instructions from Kraus and Ruvati emphasize accurate measurements, appropriately built supports, and careful fitting. Manuals++1
This guide explains How to Cut Out Cabinet for Stainless Steel Farmhouse Sink Installation, including cabinet preparation, measuring, marking, cutting, support framing, positioning, and common mistakes to avoid.
1. Understand the Farmhouse Sink Design
A farmhouse sink, also known as an apron-front sink, has a visible front wall that extends into the face of the cabinet.
Unlike a traditional kitchen sink, which may sit entirely within a countertop opening, a farmhouse sink requires space at the front of the cabinet for its exposed apron.
One of the most important aspects of How to Cut Out Cabinet for Stainless Steel Farmhouse Sink Installation is understanding that the sink’s weight must be supported by an appropriate structural system rather than by the thin decorative cabinet face.
Check the Sink’s Actual Dimensions
Before modifying a cabinet, record the sink’s overall width, front-to-back depth, apron height, rim configuration, and drain location.
Do not assume that a product advertised as a 30-inch sink measures exactly 30 inches across.
A particular Kraus farmhouse model, for example, is listed at approximately 29⅞ inches wide and requires a minimum 33-inch cabinet. These dimensions are model-specific and must not be applied to every sink. Manuals+
Understand Different Installation Styles
Farmhouse sinks may be installed with different countertop reveal styles.
A positive reveal leaves a small part of the sink rim visible. A flush installation aligns the countertop edge with the sink opening, while a negative reveal allows the countertop to extend slightly over the basin.
The appropriate configuration depends on the manufacturer and countertop design.
For homeowners researching How to Cut Out Cabinet for Stainless Steel Farmhouse Sink Installation, choosing the desired reveal before cutting the countertop is important because it determines the opening’s final shape and dimensions.
2. Gather the Correct Tools and Safety Equipment
Cabinet modification requires accurate measuring tools and cutting equipment suited to the cabinet material.
Preparing everything before beginning helps prevent mistakes and unnecessary interruptions.
Essential Tools and Materials
- Measuring tape, carpenter’s square, and pencil
- Manufacturer’s installation instructions and supplied template, if available
- Painter’s tape for protecting finished surfaces
- Jigsaw fitted with a suitable blade
- Drill and appropriate starting-bit accessories
- Clamps and temporary workpiece supports
- Level, sanding block, and suitable edge-finishing materials
- Manufacturer-approved support framing and fasteners
- Compatible sealant for the sink and countertop
Wear appropriate eye protection, hearing protection, and respiratory protection for the materials being cut.
The preparation stage of How to Cut Out Cabinet for Stainless Steel Farmhouse Sink Installation also requires checking for electrical cables, plumbing, concealed fasteners, and structural cabinet components.
Prepare the Work Area Safely
Remove items from the cabinet and clear nearby surfaces.
Shut off the water supply and disconnect existing plumbing as appropriate. If electrical appliances or disposal equipment are involved, arrange safe electrical isolation before work begins.
Protect the surrounding flooring and ensure that the cabinet is stable.
Do not cut into a cabinet while an unsupported heavy countertop or sink could shift. If the existing countertop requires removal or alteration, consult a qualified countertop installer.
3. Measure the Sink and Cabinet Opening Carefully
Accurate measurements are the foundation of a successful installation.
The cabinet opening must accommodate the sink’s apron while preserving enough material and structural support to keep the cabinet stable.
The measuring process for How to Cut Out Cabinet for Stainless Steel Farmhouse Sink Installation should begin with the actual sink and the exact manufacturer’s installation document.
Measure the Apron Front
Measure the apron width and height at the locations specified by the manufacturer.
Check that the cabinet has enough overall width for the sink body, not just the visible front.
Also verify clearance for cabinet doors, drawer fronts, hinges, interior framing, and plumbing.
For certain Kraus farmhouse models, the installation instructions specify adding 1/16 inch to the measured apron height when marking the cabinet-front cutout. This is a model-specific allowance, not a universal cutting rule. Manuals+
Mark the Cabinet Centerline
Identify the center of the cabinet opening and compare it with the sink’s centerline.
Use a carpenter’s square to establish straight, level reference lines. Check the proposed opening against the sink’s actual apron dimensions.
A careful approach to How to Cut Out Cabinet for Stainless Steel Farmhouse Sink Installation involves measuring several times and checking both sides for symmetry.
Make a Temporary Template
A cardboard or thin-board template can help visualize the opening before cutting.
Compare it against the physical sink and revise it until the dimensions match.
Templates reduce guesswork, but they do not replace the installation requirements supplied with the product.
4. Build the Required Sink Support Structure
Before removing the cabinet front, plan how the sink will be supported.
A farmhouse sink can become considerably heavier when filled with water and cookware. Thin cabinet facing, decorative trim, silicone, or the countertop edge alone should not be relied upon to carry its load.
Structural support is a central consideration in How to Cut Out Cabinet for Stainless Steel Farmhouse Sink Installation.
Install Suitable Support Rails
Depending on the sink and cabinet, supports may consist of properly secured solid-wood rails, framing members, engineered brackets, or a manufacturer-approved support system.
Ruvati’s installation instructions for certain farmhouse models call for a support frame using solid 2×4 lumber. The guide specifies that the cabinet and support should accommodate up to 200 pounds when installed, with suitable space left for plumbing. This requirement belongs to the covered models and should not be treated as the rating for every sink. Ruvati USA
Check Cabinet Structural Integrity
Identify which cabinet parts provide rigidity before modifying them.
Do not remove major structural rails or supports without an approved replacement design.
If the modification affects cabinet strength, have an experienced cabinetmaker assess and reinforce it.
A successful How to Cut Out Cabinet for Stainless Steel Farmhouse Sink Installation project depends on maintaining a secure, properly supported cabinet even after the front opening has been enlarged.
Allow Space for Plumbing
Position the supports so they do not obstruct the sink drain, garbage disposal, supply lines, or other necessary plumbing connections.
This is particularly important when replacing an existing kitchen sink with a deeper farmhouse model.
5. Mark and Cut the Cabinet Front Opening
Once the measurements and support arrangements are confirmed, the front opening can be prepared.
This is the most visible cabinet modification, so careful cutting and finishing are essential.
Mark the Cutting Lines
Transfer the verified apron dimensions onto the cabinet front using your reference centerline.
Confirm the top and bottom positions against the proposed finished sink height and the countertop arrangement.
Apply painter’s tape along the cutting area if appropriate for the cabinet finish. Mark the final line clearly and check that it is straight.
A key step in How to Cut Out Cabinet for Stainless Steel Farmhouse Sink Installation is comparing the marked opening with the actual sink one final time before operating the saw.
Cut Slowly With a Suitable Jigsaw
Secure the workpiece and use a jigsaw blade appropriate for the cabinet material.
Where a starter hole is necessary, place it within the waste material and avoid drilling into hidden components.
Follow the marked line without forcing the saw. Support the material being removed so that it cannot break away unexpectedly.
The cutting technique involved in How to Cut Out Cabinet for Stainless Steel Farmhouse Sink Installation should preserve a clean opening while avoiding splintering, unintended damage, or unnecessary removal of surrounding cabinetry.
Smooth and Protect the Edges
After cutting, remove rough edges with a suitable sanding tool.
Where the cabinet construction requires it, seal exposed wood-based materials to protect against moisture.
Avoid excessive sanding that enlarges the opening beyond the manufacturer’s permitted dimensions.
Check for a Consistent Fit
Carefully compare the finished opening with the sink apron.
If the fit is slightly tight, reassess the measurements before removing more material. If the opening is too large, suitable cabinet trim or a professionally fabricated repair may be necessary.
6. Position the Farmhouse Sink and Check Alignment
After the opening is prepared and the supports are installed, the sink can be placed in the cabinet.
Stainless steel sinks may have sharp edges, so appropriate protective gloves and assistance with handling are important.
The fitting stage of How to Cut Out Cabinet for Stainless Steel Farmhouse Sink Installation requires the sink to rest securely on its structural supports.
Check the Level
Use a level to confirm that the sink sits correctly from side to side and front to back.
Adjustments should follow the manufacturer-approved mounting arrangement.
Do not rely on a thick bead of silicone to correct a poorly built support frame.
Confirm the Apron Position
Inspect the visible spacing between the apron and the cabinet opening.
The sink should appear centered and properly seated without placing unintended stress on the front of the cabinet.
The alignment process in How to Cut Out Cabinet for Stainless Steel Farmhouse Sink Installation is especially important for kitchens with painted cabinetry, where uneven gaps are easy to notice.
Verify Plumbing Clearance
Before securing the installation, check that the drain assembly, trap, faucet connections, and any disposal equipment have the necessary space.
Some deep farmhouse sinks require changes to existing drain arrangements.
Have a qualified plumber evaluate connections that cannot be completed according to the manufacturer’s instructions or local plumbing requirements.
7. Prepare the Countertop Opening
The countertop opening is separate from the cabinet-front cutout.
These two measurements must work together, but they are not interchangeable.
A sink can fit the cabinet apron opening correctly while still requiring a different countertop cutout.
Understanding this distinction is essential in How to Cut Out Cabinet for Stainless Steel Farmhouse Sink Installation.
Use the Correct Countertop Template
Some manufacturers supply countertop templates with selectable reveal styles.
Other manufacturers require the actual sink to be used for measurements.
For certain Ruvati models, no cutout template is included because installation arrangements vary. The company recommends using the physical sink to determine the opening. Ruvati USA
Consider Countertop Material
Laminate, solid-surface, natural-stone, and engineered-stone countertops require different cutting and finishing procedures.
Stone and engineered-stone work may require professional fabrication, specialized machinery, and appropriate dust control. Cutting silica-containing material without suitable controls can cause serious respiratory harm.
Do not attempt to modify a fitted stone countertop with an ordinary woodworking jigsaw.
Seal Exposed Surfaces
Where applicable, use the compatible sealants specified for the sink and countertop.
Exposed moisture-sensitive countertop edges need suitable protection.
A proper How to Cut Out Cabinet for Stainless Steel Farmhouse Sink Installation process includes checking that the finished countertop will fit without transferring the sink’s weight onto unsupported edges.
8. Complete Plumbing Connections and Test for Leaks
Once the sink is secured and the countertop is properly fitted, the faucet and drainage connections can be completed.
Follow the sink, faucet, drain, and disposal manufacturers’ instructions and all applicable plumbing codes.
Test the Connections
Restore the water supply only after the necessary components are correctly installed.
Inspect supply connections, faucet fittings, drain joints, and the area below the sink.
Run water at different flow rates and check for leaks.
Fill and drain the basin as directed to test the drainage assembly and observe whether any water escapes around the connections.
For homeowners learning How to Cut Out Cabinet for Stainless Steel Farmhouse Sink Installation, a leak test is essential because even a correctly cut cabinet can be damaged by poorly sealed plumbing.
Inspect the Cabinet After Testing
Check around cut edges, supports, and the interior cabinet floor for moisture.
Do not store household items beneath the sink until the connections have been checked and the installation is ready for normal use.
Common Mistakes to Avoid
Several mistakes can make farmhouse sink installation more difficult or expensive.
One common problem is purchasing a sink without checking the minimum cabinet size. Another is modifying the cabinet before inspecting the physical product.
Incorrect support framing, cutting too much from the front panel, failing to consider drain location, and assuming a universal countertop template can also create problems.
The most important lesson in How to Cut Out Cabinet for Stainless Steel Farmhouse Sink Installation is that cutting should follow a verified installation plan, not the other way around.
| Common mistake | Potential consequence | Better approach |
|---|---|---|
| Measuring only the advertised sink width | Sink does not fit the cabinet | Measure the actual product |
| Cutting before checking structural support | Cabinet becomes weakened | Plan and install approved supports |
| Using a generic cutout size | Uneven gaps or incorrect fit | Follow the exact model instructions |
| Ignoring drain clearance | Plumbing components cannot fit | Check plumbing before cutting |
| Rushing with the jigsaw | Chipped finish or oversized opening | Support the panel and cut carefully |
| Relying only on silicone for support | Unstable sink installation | Use properly designed structural framing |
| Failing to seal moisture-sensitive edges | Cabinet swelling or deterioration | Finish exposed edges appropriately |
Frequently Asked Questions
Can you install a farmhouse sink in an existing cabinet?
Sometimes. An existing cabinet may be suitable if its dimensions, structural condition, and design allow the necessary modifications. Some installations require a replacement farmhouse-style sink base cabinet.
Do you need a special cabinet for a stainless steel farmhouse sink?
Not always. Certain existing cabinets can be modified, but many installations benefit from a cabinet designed for an apron-front sink. Follow the specific manufacturer’s cabinet requirements.
What is the best tool for cutting the cabinet front?
A jigsaw with a suitable blade is commonly used to cut cabinet-front openings. The appropriate tool depends on cabinet material, access, and the cutting arrangement.
How much should you cut from the cabinet?
There is no universal measurement. Use the actual sink apron dimensions and manufacturer-specific instructions. Some Kraus models specify a small additional clearance, but that rule does not apply to every farmhouse sink.
Does a stainless steel farmhouse sink need extra support?
Yes, it generally needs a properly designed support system. The manufacturer determines the support requirements, and the frame must accommodate the sink’s expected loaded weight.
Should you install the sink before cutting the countertop?
Installation sequences vary by model and countertop construction. The sink, cabinet opening, supports, and countertop must be coordinated according to the manufacturer’s instructions and the countertop fabricator’s requirements.
Conclusion
Installing a stainless steel farmhouse sink requires careful planning because the cabinet front, sink support, countertop, and plumbing must all fit together correctly.
The process begins with measuring the actual sink, evaluating the existing cabinet, and establishing a reliable support structure. Once those details are confirmed, the apron opening can be marked and carefully cut.
Ultimately, How to Cut Out Cabinet for Stainless Steel Farmhouse Sink Installation is about precision rather than speed.
Taking time to verify dimensions, protect structural components, and follow manufacturer instructions can help prevent unnecessary cabinet damage and expensive installation mistakes.
If the project involves major cabinet modifications, stone countertop fabrication, or complicated plumbing, hiring experienced professionals is often the safest choice.

Written by Twastia Editorial Team
Twastia Editorial Team shares practical insights about website design, SEO services, Google Ads, content marketing, social media, conversion rate optimization, and digital marketing strategy.
Last updated: Nov 6, 2026
Related posts from Twastia
Explore more useful articles from twastia.com about digital marketing, SEO, websites, ads, content, and growth strategy.