How to Wire a Dimmer Switch: The Ultimate Step-by-Step Guide
Lighting plays an undeniably transformative role in interior design and daily home comfort. Overhead illumination can make a workspace vibrant, […]
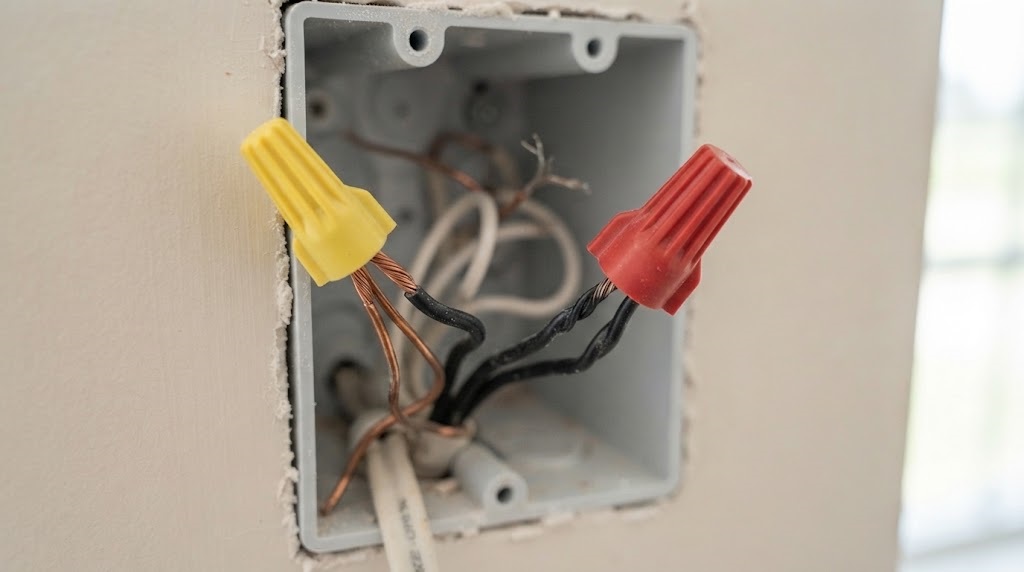
Lighting plays an undeniably transformative role in interior design and daily home comfort. Overhead illumination can make a workspace vibrant, energetic, and fully productive, but harsh, blinding light can quickly ruin the relaxed ambiance of a living room, dining area, or bedroom after a long, exhausting day. If you want complete, customizable command over your home’s lighting atmosphere while simultaneously reducing your monthly electrical energy consumption, upgrading standard wall toggle switches to modern dimmers is one of the most effective home improvement projects you can possibly undertake. Learning how to wire a dimmer switch is a deeply rewarding do-it-yourself skill that empowers you to tailor your lighting environment with absolute confidence.
Many homeowners feel intimidated by residential electrical work, often hesitating to touch anything behind a standard wall switch plate. However, replacing an old toggle switch with a modern dimmer is a remarkably straightforward project that typically takes less than thirty minutes with basic, inexpensive hand tools. This comprehensive guide walks you through every single phase of the installation process, emphasizing critical safety protocols, necessary tools, wiring configurations, troubleshooting tips, and modern LED compatibility to ensure your lighting upgrade is a resounding success from start to finish.
Preparation and Safety First

Before removing a single cover plate or loosening a single terminal screw, safety must remain your absolute top priority when dealing with household electrical circuits. Working with live electrical wires can result in severe shock, personal injury, or worse. Never skip the preliminary safety checks.
Locating and Turning Off the Circuit Breaker
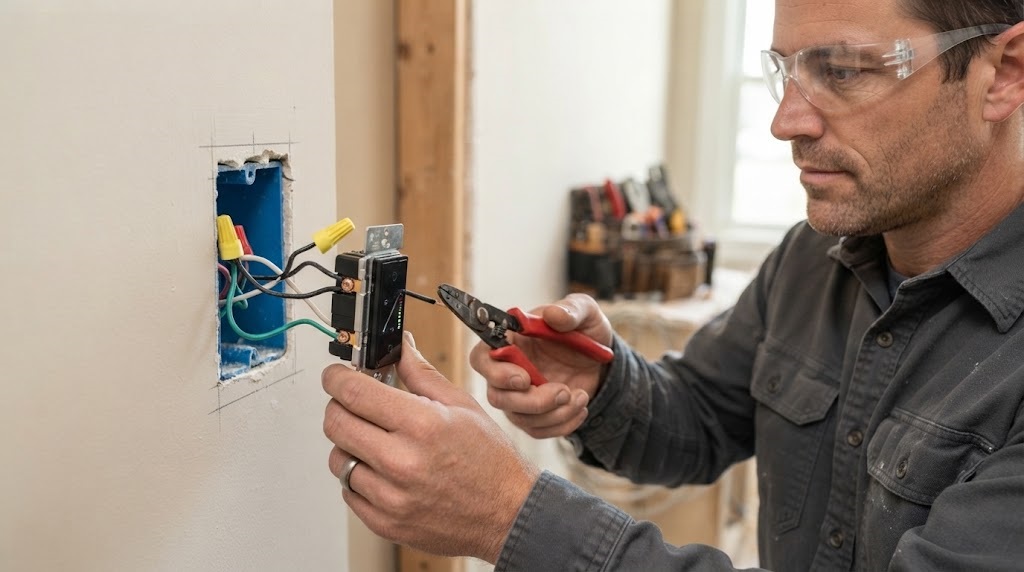
Head directly to your home’s main electrical service panel and locate the specific circuit breaker switch controlling the lighting circuit you plan to modify. Flip that breaker firmly to the “OFF” position. To verify that the power is truly cut, return to the wall switch and toggle it up and down. If the light fixture remains completely dark, you are on the right track.
Verifying Power with a Non-Contact Voltage Tester
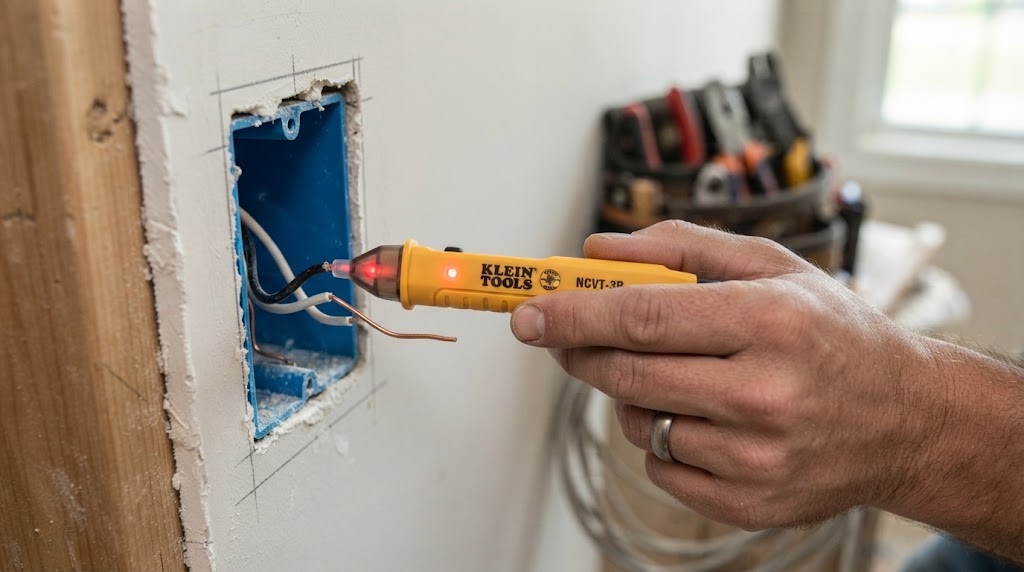
Even after flipping the breaker at your service panel, always test the wires inside the electrical junction box using a reliable, battery-operated non-contact voltage tester. Hold the sensitive tip of the tester close to the wires; if the device lights up or emits an audible beep, live electricity is still present in the circuit. Do not proceed under any circumstances until the voltage tester confirms zero electrical current inside the box.
Gathering Your Essential Tools and Materials
Having the correct tools staged, organized, and ready before you begin prevents frustrating interruptions midway through your project. Gather the following items on a clean, well-lit workspace:
- New dimmer switch (carefully matched to your bulb type, such as LED, incandescent, or halogen)
- Standard flathead and Phillips screwdrivers
- Insulated wire strippers and heavy-duty needle-nose pliers
- Reliable non-contact voltage tester
- UL-listed wire connectors (commonly known as wire nuts)
- Electrical tape for extra security
- A small flashlight, headlamp, or portable work light
Understanding Switch Types: Single-Pole vs. Three-Way
Before purchasing a new dimmer switch at your local hardware store, you must accurately determine whether your existing light fixture is controlled by a single switch or by multiple switches across the room.
Single-Pole Switches
A single-pole switch is the most common residential electrical setup found in American homes. It controls a single light fixture from one distinct location in the room. When you pull the switch out, you will see two insulated operational wires connected to the switch terminals (excluding the bare copper grounding wire).
Three-Way Switches
Three-way switches allow you to control a single light fixture from two entirely different locations, such as the top and bottom of a residential staircase or opposite ends of a long hallway. Wiring a three-way setup requires purchasing a specialized three-way dimmer switch and paying close attention to terminal screw placements, as traveler wires and common wires must be meticulously matched.
Step-by-Step Guide on How to Wire a Dimmer Switch
With the circuit power confirmed off and your tools fully prepared, you can follow these systematic steps to safely and successfully complete your installation.
Step 1: Remove the Old Wall Plate and Switch Body
Use a screwdriver to remove the screws holding the plastic or metal wall plate in place. Once the decorative cover plate is off, locate the mounting screws securing the inner switch body to the metal or plastic electrical box. Carefully pull the switch straight out from the wall box, exposing the attached wires and wire nuts.
Step 2: Disconnect the Existing Wires Safely
Inspect how the wires are attached to the old switch terminals. Take a quick smartphone photo of the wiring configuration before disconnecting anything, as this serves as a helpful reference guide. Loosen the terminal screws or twist off the wire nuts to free the copper wires from the old switch. Straighten the ends of the wires with needle-nose pliers if they are tightly hooked.
Step 3: Identify the Ground, Line, and Load Wires
Examine the wires waiting inside the junction box:
- Ground Wire: The bare copper wire (or green insulated wire) connected to the green grounding screw on the switch or the metal box.
- Line Wire (Hot): The wire supplying live electricity directly from your main breaker panel (which tests hot when live).
- Load Wire: The wire leading away from the switch directly to the light fixture itself.
Step 4: Connect the New Dimmer Switch Wires
Modern dimmers typically feature pre-stripped wire leads or secure screw terminals. Using UL-listed wire connectors, connect the wires matching their designated electrical functions:
- Connect the green or bare copper ground wire of the dimmer securely to the bare ground wire coming out of the wall box.
- Connect the black line wire from the wall box to one of the black operational wires on the dimmer switch.
- Connect the black load wire from the wall box to the remaining black wire on the dimmer. (Note: For standard single-pole dimmers, the two black operational wires are typically interchangeable, which simplifies the connection process).
Step 5: Secure Connections with Wire Nuts and Electrical Tape
Twist each wire nut clockwise onto the paired wire ends until the connection is exceptionally tight and secure. Give each individual wire a gentle tug to ensure it cannot slip out. For added peace of mind, wrap a small strip of electrical tape around the base of each wire nut where it meets the wire insulation.
Step 6: Neatly Tuck Wires and Mount the Dimmer Housing
Gently fold the connected wires in an accordion fashion and push them backward into the deep recesses of the electrical box, taking careful care not to pinch any wires against the sharp box sides. Align the mounting screws on the top and bottom of the dimmer yoke with the threaded holes in the box. Secure the dimmer snugly, ensuring it sits level and flush against the wall surface.
Step 7: Attach the Cover Plate and Test the System
Screw the decorative wall plate over the newly mounted dimmer assembly. Return to your home’s main electrical service panel and switch the circuit breaker back to the “ON” position. Return to the room and test your new dimmer by sliding or rotating the control lever to verify smooth dimming action and full brightness across the lighting fixture.
Choosing the Right Dimmer for LED Bulbs
If you are upgrading older incandescent bulbs to energy-efficient LEDs, purchasing the correct dimmer switch is vital to success. Traditional dimmers designed exclusively for incandescent bulbs require a minimum electrical load to function correctly. Because modern LED bulbs draw significantly less power, pairing them with an old incandescent dimmer often results in annoying flickering, buzzing sounds, or failure to turn off completely.
Always look for packaging that explicitly states “LED Compatible” or purchase an advanced universal CL dimmer switch engineered to handle the low electrical wattage of modern LED arrays. Furthermore, ensure your LED light bulbs are clearly labeled as “dimmable,” as standard non-dimmable LED bulbs will malfunction, flicker violently, or burn out prematurely when connected to a dimmer circuit.
Frequently Asked Questions
Can I install a dimmer switch myself without hiring an electrician?
Yes. Replacing a standard wall switch with a modern dimmer is one of the most common DIY electrical projects in American homes. As long as you shut off the main circuit breaker, verify power absence with a non-contact voltage tester, and follow basic wiring instructions carefully, homeowners can complete this safely.
Why is my LED light bulb flickering on the new dimmer?
Flickering typically occurs when a legacy incandescent dimmer is paired with modern LED bulbs, or when non-dimmable LED bulbs are accidentally used. Upgrading to an LED-compatible dimmer switch and ensuring your bulbs are rated as dimmable resolves this issue completely.
Do dimmer switches require a neutral wire in the wall box?
Many modern smart dimmers and advanced digital dimmers require a neutral wire (usually a bundle of white wires tucked neatly in the back of the box) to power their internal radios, Wi-Fi modules, or digital displays. Traditional standard mechanical dimmers usually only require ground, line, and load wires without needing any neutral connection.
How do I know which wire is the line wire?
The line wire originates directly from the circuit breaker panel and supplies live voltage to the switch. While a non-contact voltage tester can identify live wires when the breaker is turned on, you must always turn the breaker off before handling or disconnecting any wires during the installation process.
What is the exact difference between single-pole and three-way dimmers?
A single-pole dimmer controls a light fixture from one location and features two switching terminals. A three-way dimmer allows control of a single light fixture from two separate locations and requires specialized wiring to accommodate traveler wires connecting both switches.
Can I put a dimmer switch on a ceiling fan motor?
Standard lighting dimmers should never be installed on ceiling fans. Dimmers reduce electrical voltage, which causes fan motors to overheat, hum loudly, and risk burning out motor windings. Always use a dedicated ceiling fan speed control switch instead.
Is it normal for a dimmer switch to feel warm to the touch?
It is completely normal for standard incandescent and halogen dimmers to feel slightly warm to the touch during operation, as they dissipate a small amount of energy as heat. However, if a switch feels excessively hot, buzzes loudly, or smells like melting plastic, turn off the breaker immediately and inspect the wiring.
Conclusion
Upgrading your home illumination by learning how to wire a dimmer switch is a gratifying project that combines practicality, energy efficiency, and interior design enhancement. By taking proper safety precautions, turning off the circuit breaker, verifying power absence, and carefully matching wire connections, you can transform the ambiance of any room in your house within minutes. Whether you are creating a cozy evening retreat or brightening a functional workspace, mastering this DIY electrical skill gives you complete control over your living environment.

Written by Twastia Editorial Team
Twastia Editorial Team shares practical insights about website design, SEO services, Google Ads, content marketing, social media, conversion rate optimization, and digital marketing strategy.
Last updated: Oct 18, 2026
Related posts from Twastia
Explore more useful articles from twastia.com about digital marketing, SEO, websites, ads, content, and growth strategy.